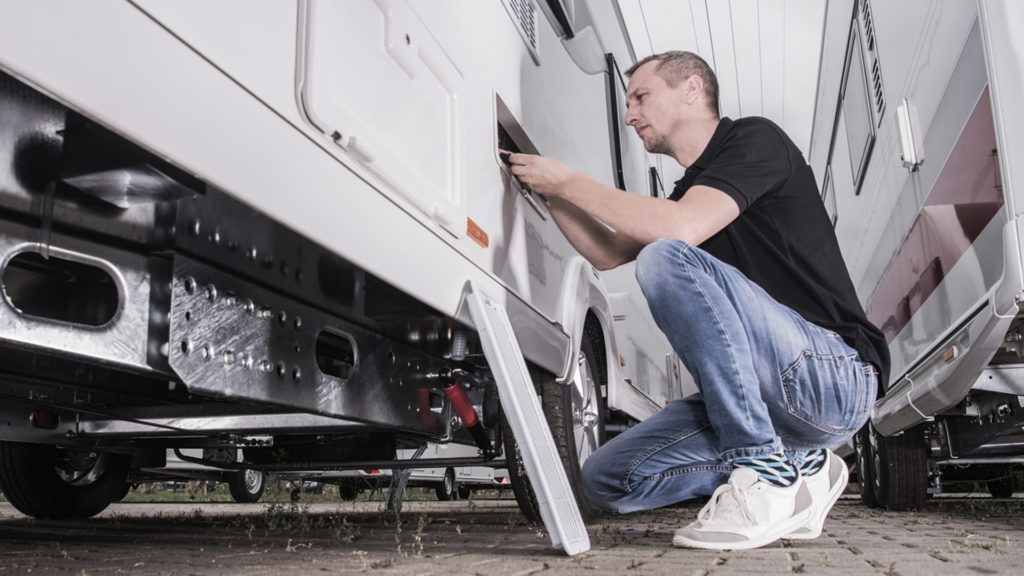
As the days grow longer, the weather becomes milder, and the scent of spring fills the air, RV enthusiasts across the country are eagerly preparing for a new camping season. For those who have braved the winter months with their beloved campers safely tucked away, it’s time to take the first step toward adventure de-winterizing your RV. In this ultimate guide, we will walk you through the essential steps to ensure your RV or camper is ready for the road and camping season. From charging the batteries to checking safety devices, we’ve got you covered. So, let’s dive into the process of de-winterizing your camper and get ready for a memorable journey!
Step 1. Charge the RV Batteries
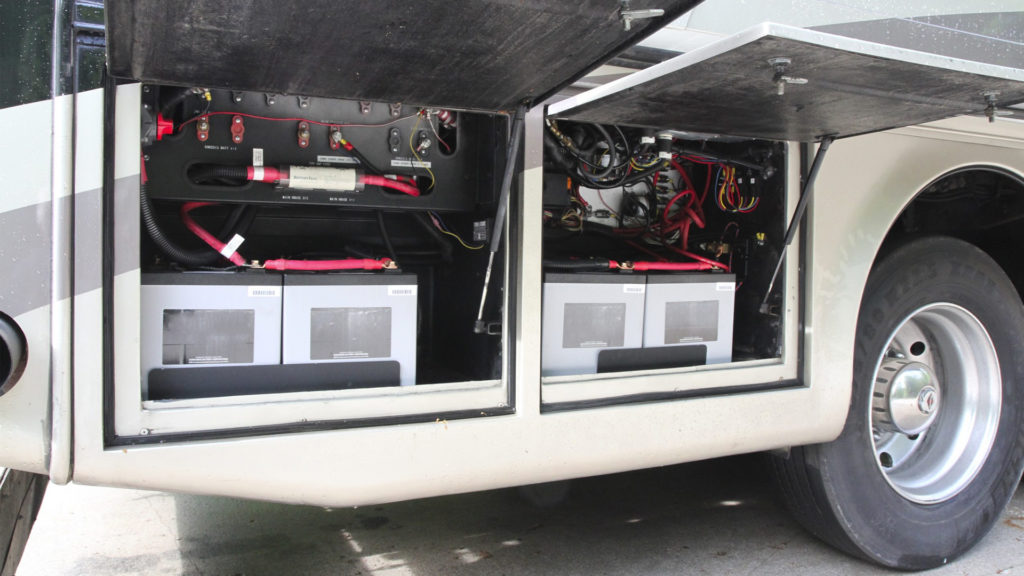
The first and crucial step in de-winterizing your RV/camper is to charge the batteries. After a long period of inactivity, your batteries may have lost their charge. Here’s how you can get them back in action:
- Check Battery Condition: Inspect the batteries for any visible damage or leaks. If you notice any issues, consult a professional.
- Clean Battery Terminals: Remove any corrosion or dirt from the battery terminals using a battery brush or a mixture of baking soda and water.
- Reconnect and Charge: Reconnect the batteries and plug your RV into shore power. Allow the batteries to charge fully to ensure they’re ready for your upcoming adventures.
Step 2. Clean the RV Exterior

Before hitting the road, you’ll want to make sure your RV/camper is sparkling clean and in good condition. This includes the following tasks:
- Clean Solar Panels: If your RV has solar panels, clean them to maximize energy absorption.
- Check the Roof: Inspect the roof for cracks and leaks. Any damage should be repaired promptly.
- Test Doors and Windows: Ensure that all doors and windows open and close properly. Lubricate hinges and locks if needed.
- Inspect Plumbing and Electrical Lines: Examine all plumbing, electrical, and water lines for any signs of damage or wear. Replace any compromised components.
- Exterior Wash: Give your RV a thorough exterior wash to remove any dirt or grime accumulated during the winter months.
- Roof Inspection (Again): Don’t forget to recheck the roof for cracks and leaks after cleaning and repairs.
Step 3. Flush the Water System
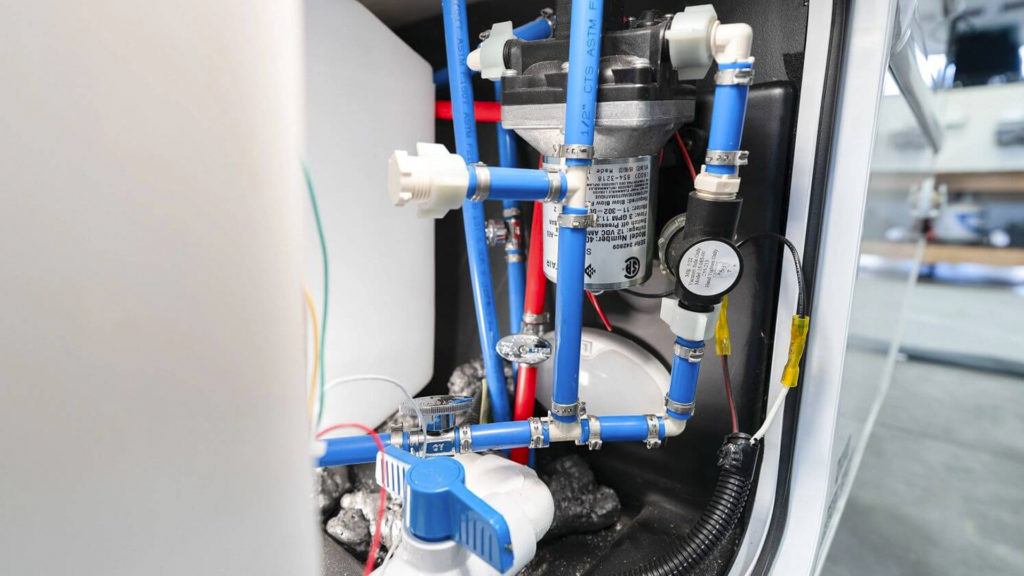
De-winterizing your water system is a critical step to preparing your RV for spring adventures. Follow these steps to flush the water system:
- Drain Antifreeze: Ensure that all antifreeze is completely drained from your plumbing system. Run each faucet until only freshwater flows.
- Replace Filters: If your RV has water filters, replace them to ensure clean and safe water.
- Check Water Heater: Check the water heater and bypass valve to ensure they are in the correct position for normal use.
- Flush the Lines: Run water through all faucets, both hot and cold, until any remaining antifreeze is fully flushed out.
Step 4. Water Line Sanitization
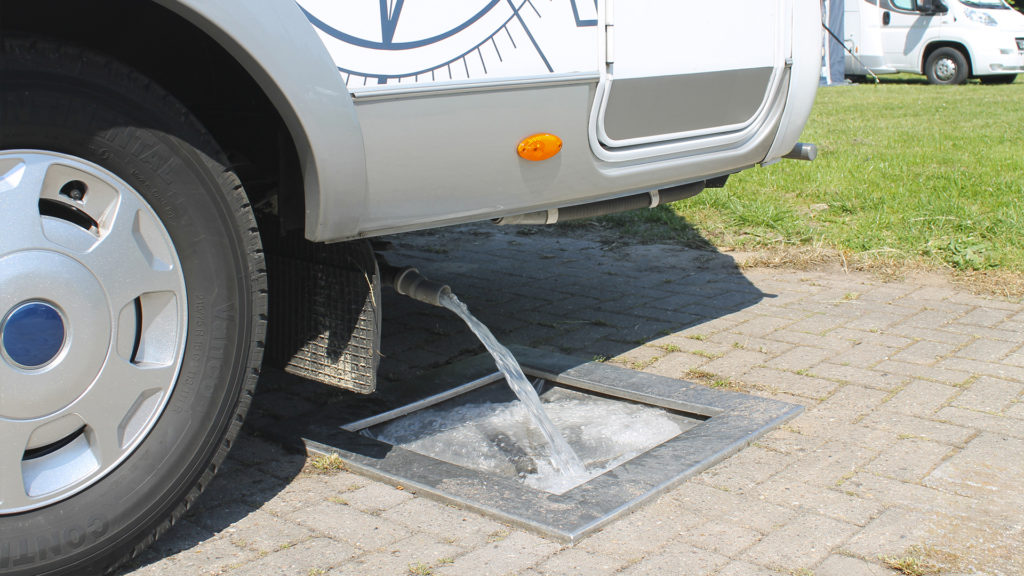
Sanitizing the water system is essential for maintaining water quality. Here’s how to do it:
- Prepare a Solution: Mix one-quarter cup of bleach with one gallon of water for every 15 gallons of water your freshwater tank can hold.
- Fill the Tank: Pour the bleach solution into your freshwater tank and then fill it completely with water.
- Run the Water: Turn on each faucet, one by one, until you can smell the bleach solution. Then turn them off.
- Wait and Drain: Let the solution sit in the lines and tank for at least four hours. Afterward, drain the tank and flush the system until the smell of bleach is gone.
Step 5. Check the RV Tires
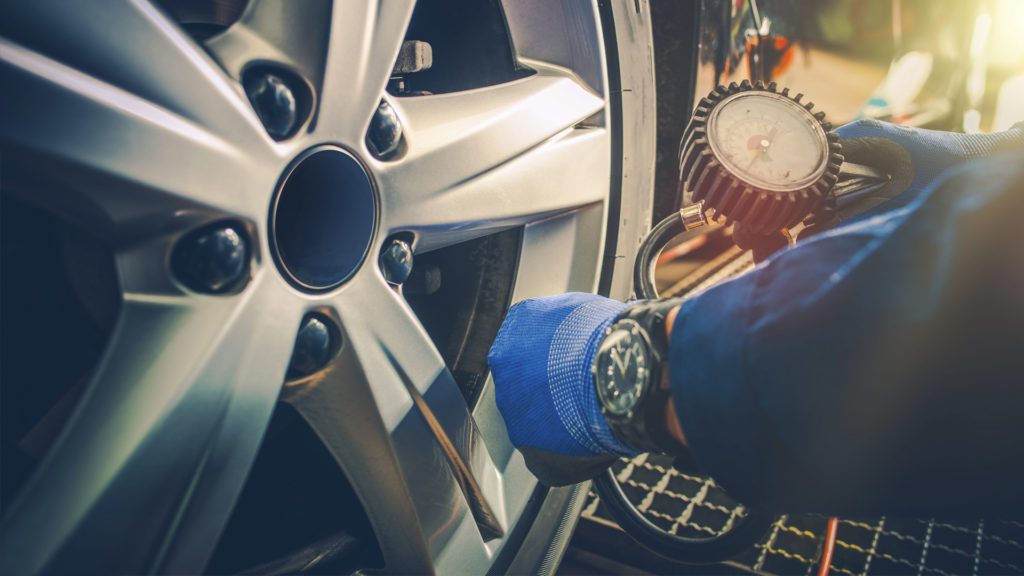
Inspecting your RV tires is a crucial safety measure. Here’s how to ensure your tires are ready for the journey:
- Tire Pressure: Check and adjust the tire pressure according to the manufacturer’s recommendations. Proper tire pressure ensures even wear and better fuel efficiency.
- Tire Tread: Inspect the tire tread for any signs of excessive wear or damage. Replace tires if necessary.
- Spare Tire: Ensure your spare tire is in good condition and properly inflated.
Step 6. Inspect the Propane System
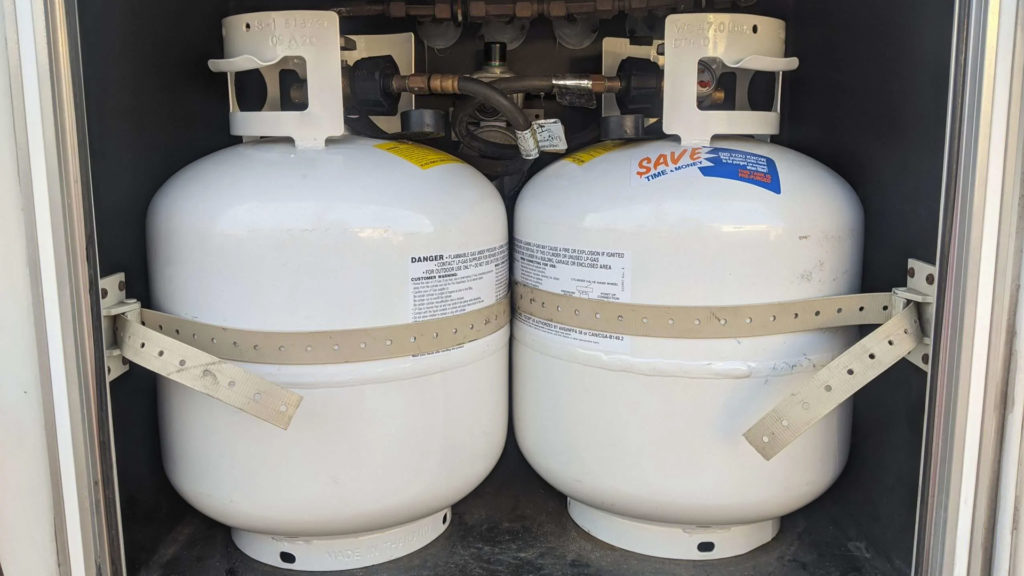
Your propane system is essential for cooking, heating, and running appliances in your RV. Here’s how to ensure it’s in working order:
- Check for Damage: Examine the propane system for any visible damage or signs of wear. Pay particular attention to hoses and connections.
- Rodent Damage: Look for chewed wires or any areas where snow or water may have entered, potentially causing damage.
- Test for Leaks: Use a propane leak detector or soapy water to check for any gas leaks at connections. If you detect a leak, shut off the propane and consult a professional.
Step 7. Check Engine and Generator
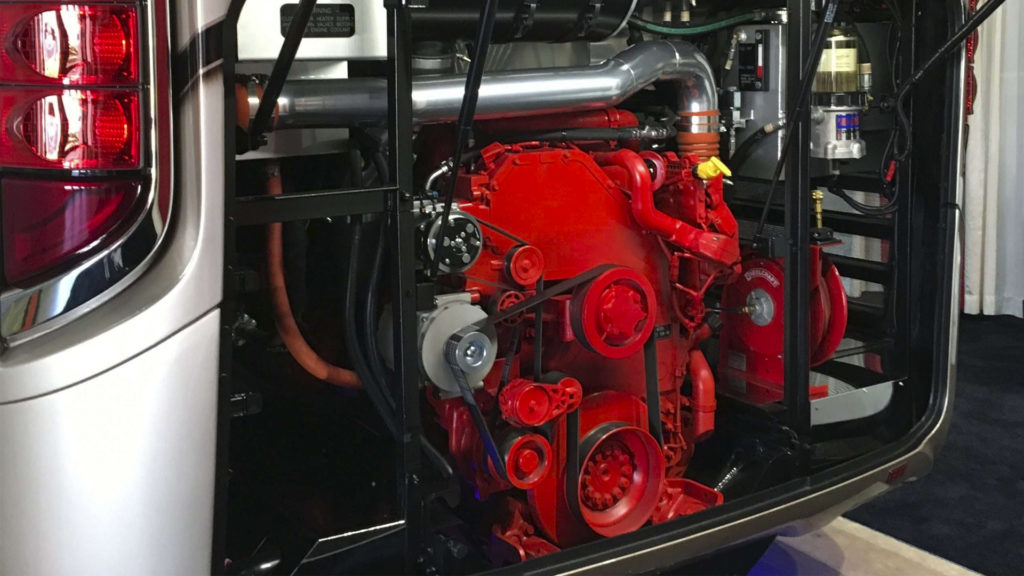
To ensure your RV is mechanically sound, it’s essential to inspect the engine and generator. Here’s what to do:
- Fluid Levels: Check the fluid levels of the power steering, transmission, engine oil, brake fluid, engine coolant, and windshield washer fluid. Top off or replace any fluids as needed.
- Battery Check: Inspect the engine and generator batteries to ensure they’re fully charged and in good condition.
- Oil and Filters: Change the oil and filters in both the engine and generator according to the manufacturer’s recommendations.
- Run the Generator: Start and run the generator for at least 30 minutes to ensure it’s working properly.
Step 8. Check Your RV’s Safety Devices
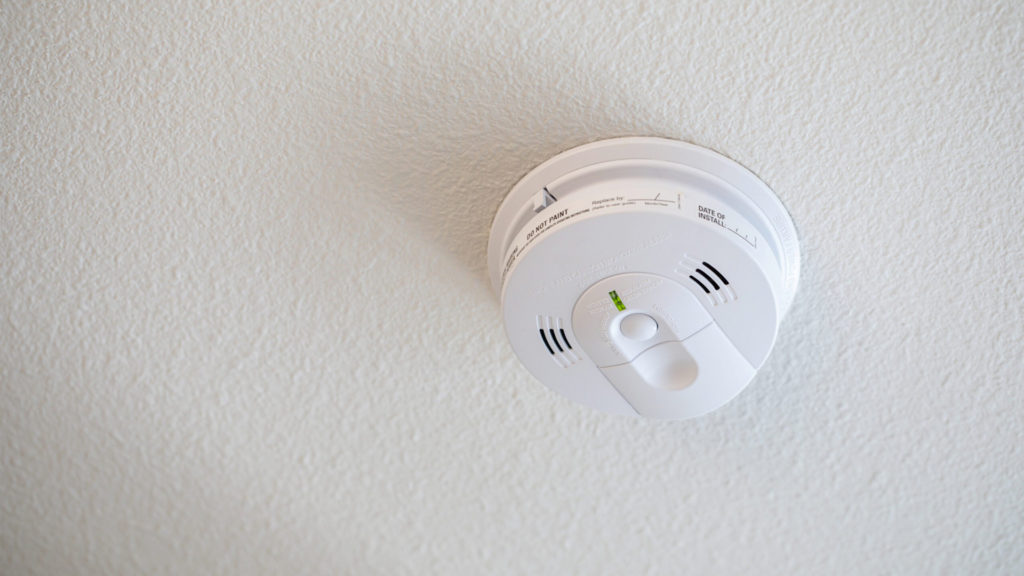
Safety should be a top priority when de-winterizing your RV/camper. Here’s what to check:
- Smoke Alarm: Test the smoke alarm and replace the batteries if necessary.
- Fire Extinguisher: Ensure the fire extinguisher is fully charged and in good working order.
- Carbon Monoxide Detector: Test the carbon monoxide detector and replace its batteries if needed.
- LP Detector: Check the LP (propane) detector to ensure it’s functioning correctly.
Step 9. Clean the RV Awning
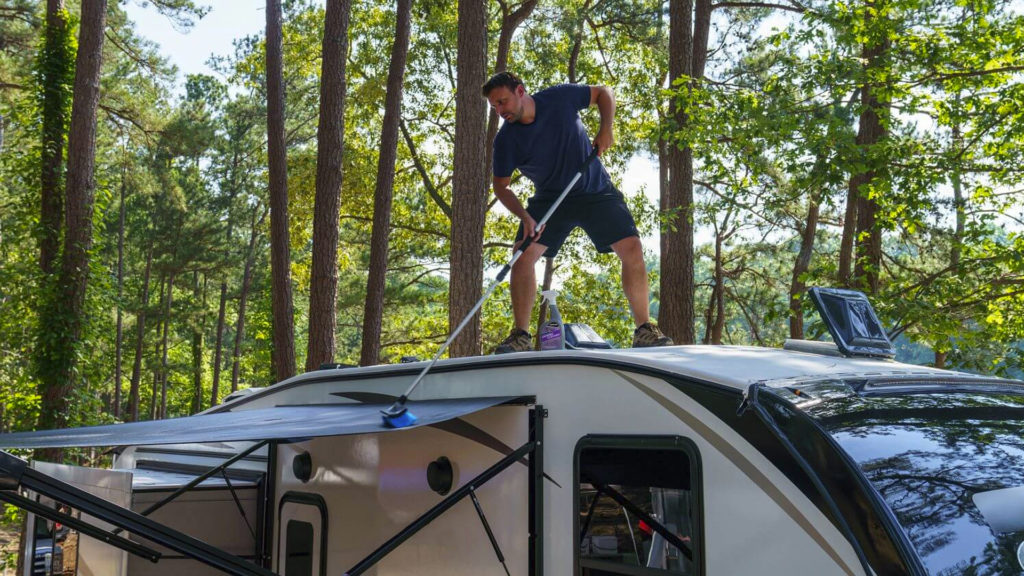
Your RV’s awning is not only functional but also adds to the overall aesthetic. Follow these steps to clean it:
- Brush Off Debris: Carefully remove any dirt, leaves, or debris from the awning fabric.
- Cleaning Solution: Mix a solution of mild soap and water.
- Scrub and Rinse: Using a soft brush or sponge, scrub the awning with the cleaning solution. Rinse thoroughly with water.
- Allow to Dry: Extend the awning fully and let it dry completely before retracting it.
The bottom line is that de-winterizing your RV/camper is a crucial step in ensuring a safe, enjoyable, and hassle-free camping season. By following these comprehensive steps, you’ll have your camper ready to hit the road in no time. Remember, regular maintenance and attentive care are key to a long-lasting and reliable RV. So, gear up, embark on your adventures, and create lasting memories in the great outdoors!
Looking for an RV Park to Stay in During Your Trip?
Now that your RV is ready to hit the road, you might be wondering where to go for your first adventure of the season. In the heart of the natural and cultural splendor of South Dakota, Black Hawk Creek RV Park stands as your gateway to a truly unforgettable adventure. Whether you’re seeking tranquility among the breathtaking landscapes or a thrilling exploration of the area’s diverse attractions, at Black Hawk Creek, we ensure that your journey is nothing short of extraordinary. Book your stay today, and let the adventure begin!

