Table of contents
- Understanding Your RV’s Water System
- Essential Supplies for Filling Your RV Water Tank
- Step-by-Step Guide to Filling Your RV Fresh Water Tank
- Common Mistakes to Avoid When Filling Your RV Water Tank
- Maintaining Water Quality in Your RV Tank
- Troubleshooting Water System Issues
- Stay Hydrated and Explore: Book Your Stay at Black Hawk Creek RV Park Today!
- Related Articles
Fresh water is one of the most essential resources when you’re RVing. Whether you’re camping in the great outdoors or staying at a full-hookup RV park, knowing how to fill RV water tank properly is critical for your comfort and safety. Clean water is essential for cooking meals, staying hydrated, taking showers, washing hands, and keeping your rig clean. If you’ve ever asked yourself how to fill fresh water tank on RV, this comprehensive guide is here to help. Before diving into the step-by-step instructions, it’s important to understand the basics of RV water systems. Most RVs have three types of water tanks: the fresh water tank, the gray water tank (used water from sinks and showers), and the black water tank (waste from the toilet). This guide focuses solely on the RV fresh water fill, which holds clean, potable water for your everyday needs.
Whether you’re a full-time RVer or a weekend warrior, mastering how to fill water tank in RV is one of the first skills you’ll need. We’ll walk you through the process, including what tools to use, how to avoid common mistakes, and tips for keeping your water system clean and safe.
Understanding Your RV’s Water System
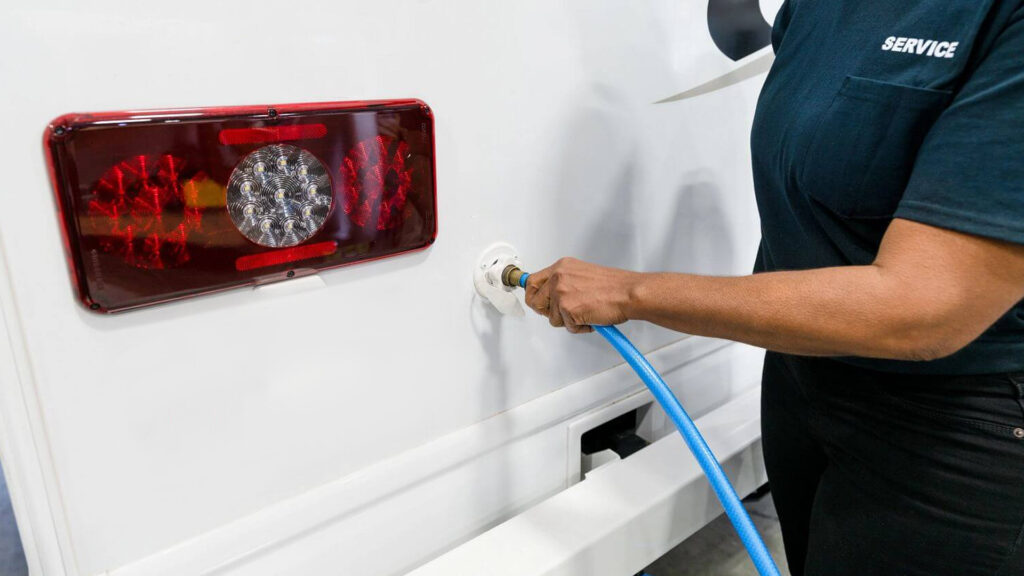
Before you learn how to fill fresh water tank, it’s helpful to understand the components of your RV’s water system. Most RVs have a dedicated fresh water fill inlet on the side of the rig—usually on the driver’s side. However, the location can vary depending on the RV model.
You’ll also notice a second connection labeled “City Water Connection.” This port allows you to hook up directly to a pressurized water source without using your tank or water pump. The RV fresh water fill port, on the other hand, fills the internal tank and is used when you’re boondocking or traveling without access to hookups.
Newer RVs typically have clear labels to differentiate between the two, but if you’re driving an older model, be sure to double-check which is which—filling the wrong one can lead to plumbing issues.
Your fresh water tank size can range from 20 gallons to over 100 gallons, depending on the RV. You can check the current water level using your RV’s monitor panel, which gives digital readings for fresh, gray, and black tanks. Knowing your tank’s capacity will help prevent overfilling and give you an idea of how much water you’ll need for your trip.
Essential Supplies for Filling Your RV Water Tank
When learning how to fill RV water tank, it’s crucial to have the right tools. Using the wrong hose or skipping filtration can lead to contamination and plumbing damage. Here’s what you’ll need:
- Potable Water Hose: Only use a drinking water-safe hose (usually white or blue). Never use a regular garden hose, as it may contain harmful chemicals.
- Water Pressure Regulator: Protects your RV plumbing by regulating high-pressure city water to a safe level, typically 40–50 PSI.
- Inline Water Filter: Helps remove sediment, bacteria, and unpleasant tastes from water.
- Water Tank Sanitizer or Bleach Solution: Used periodically to clean the tank and prevent bacteria growth.
- Hose Connectors and Y-Valves (optional): Make attaching hoses easier and allow multiple connections at once.
- Portable Water Containers or Jugs: Useful when filling the tank without a direct water hookup.
These tools not only make how to fill fresh water tank on RV easier but also ensure your water is safe to use for drinking, cooking, and cleaning.
Step-by-Step Guide to Filling Your RV Fresh Water Tank
Here’s a detailed step-by-step process to guide you through how to fill RV water tank when connected to a water hookup at a campground or park:
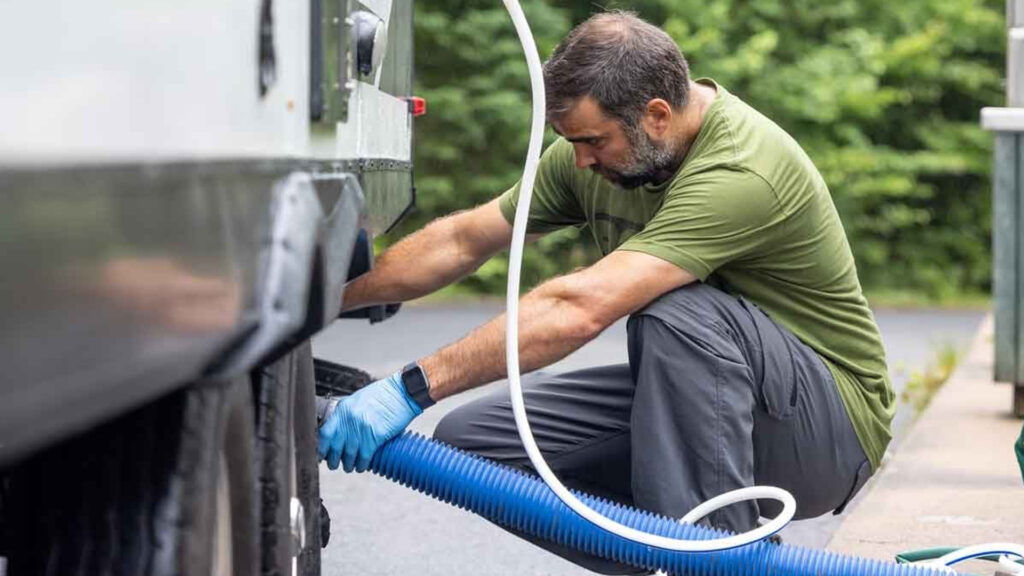
- Locate the Fresh Water Fill Inlet
Find the labeled port on the exterior of your RV that says “Fresh Water Fill.” This is NOT the same as the city water inlet. - Connect the Potable Water Hose
Attach one end of your clean, drinking water-safe hose to the spigot or water source. - Attach a Water Filter and Pressure Regulator (if needed)
If using a filter or regulator, attach them before the hose connects to the water source. - Insert the Hose into the Fresh Water Inlet
Carefully insert the other end of the hose into the fill inlet. Some RVs have a threaded cap; others are gravity-fill style. - Turn On the Water Slowly
Open the valve slowly to allow water to begin filling the tank. Avoid blasting high pressure, especially if you’re not using a regulator. - Monitor the Water Level
Use your RV’s monitor panel to keep an eye on the fill level. If your RV lacks this feature, listen for the overflow valve to start releasing water, which signals the tank is full. - Stop When Full
Once full, turn off the water source and remove the hose. Be sure to close the tank cap securely. - Turn Off the Water Pump When Not in Use
If you’re not actively using water, especially while driving, turn off the water pump to save battery power and prevent leaks.
Following this routine ensures your RV fresh water fill is done safely and efficiently.
Filling Your RV Water Tank Without City Water
If you’re boondocking or dry camping, you’ll need alternative methods for how to fill fresh water tank on RV without a direct hookup:
- Portable Water Containers: Use jugs or collapsible water carriers to transport water from a nearby source.
- Gravity Filling: Open your RV’s fresh water inlet and slowly pour in water using a funnel or hose extension.
- Portable Water Pumps: Battery-operated or 12V pumps can transfer water from containers into the tank more quickly.
Always ensure the water source is potable, and plan ahead—boondocking means you’ll need to conserve water and know where to find refills. Many campgrounds, gas stations, and RV dump stations offer potable water.
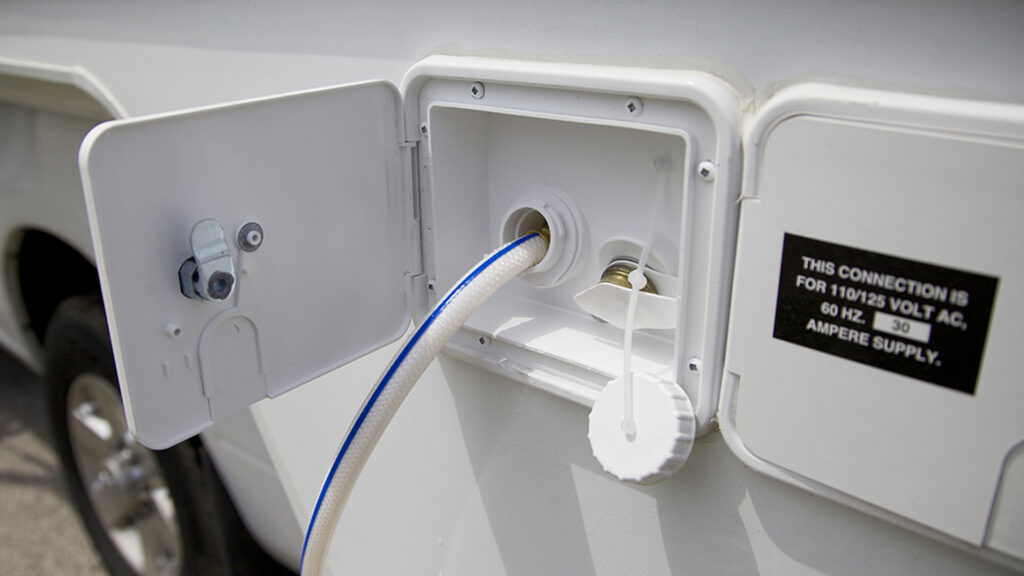
Using the City Water Connection vs. Filling the Fresh Water Tank
One of the most common questions RVers ask is the difference between city water and the RV fresh water fill.
- City Water Connection: Supplies pressurized water directly to your faucets and shower when connected. No need to use the tank or pump.
- Fresh Water Tank Fill: Stores water in your RV’s onboard tank, which is then pumped through the system using the RV water pump.
Use city water when staying at a campground with full hookups. Use the tank when traveling or staying somewhere without direct connections. In both cases, always use a water pressure regulator to avoid damaging your plumbing.
Common Mistakes to Avoid When Filling Your RV Water Tank
Even seasoned RVers sometimes make mistakes when learning how to fill water tank in RV. Here are common pitfalls to avoid:
- Using a Non-Potable Hose: Always use a hose labeled safe for drinking water.
- Overfilling the Tank: Adds unnecessary weight, affects fuel economy, and could lead to leaks.
- Forgetting to Sanitize: Neglecting to clean your tank can result in bacteria growth and unpleasant odors.
- Leaving the Pump On: Drains your RV battery and can cause leaks if a faucet is left open.
- Not Winterizing: Failing to winterize your water system in cold climates can lead to frozen or burst pipes.
Avoiding these mistakes will keep your water safe and your RV in top shape.
Maintaining Water Quality in Your RV Tank
Maintaining your tank is just as important as learning how to fill fresh water tank on RV. Here’s how to keep your water clean:
- Sanitize Your Tank Twice a Year
Mix ¼ cup of household bleach per 15 gallons of tank capacity with water. Fill the tank, run water through all faucets, let sit for 8–12 hours, then flush until the chlorine smell disappears. - Use Filtration
Inline water filters or countertop filtration systems improve taste and remove impurities. - Empty the Tank Between Trips
Don’t let water sit stagnant for too long, especially in hot weather. - Check for Stale or Smelly Water
If your water smells musty or metallic, it’s time to flush and sanitize.
Following these tips will keep your RV’s water tasting fresh and safe for everyday use.
Troubleshooting Water System Issues
If you’ve learned how to fill water tank in RV but still experience issues, here are some common problems and their solutions:
- No Water Flow Despite Full Tank: Likely a pump issue. Check that the water pump is turned on and functioning.
- Strange Taste or Odor: Indicates the need for tank sanitization or filter replacement.
- Low Water Pressure: Could be due to clogged filters, a faulty pump, or a kinked hose.
- Leaky Connections: Inspect hoses and fittings for cracks or loose fittings.
If you can’t resolve the issue, consider visiting an RV service professional for a thorough inspection.
Stay Hydrated and Explore: Book Your Stay at Black Hawk Creek RV Park Today!
Now that you’ve mastered how to fill your RV water tank, it’s time to make sure you’re ready for your next adventure! When you’re gearing up for your camping trip, make Black Hawk Creek RV Park your base camp. With easy-access water hookups, you won’t have to worry about filling your tank, allowing you to spend more time exploring the breathtaking landscapes and rich cultural attractions of the area. Whether you’re after peace and quiet or an exciting adventure, Black Hawk Creek is the perfect place to start your journey.
Book your stay today and experience everything this incredible destination has to offer. Let your unforgettable adventure begin at Black Hawk Creek RV Park!