Table of contents
- Understanding the Importance of Leveling Your Camper
- Essential Tools for Leveling Your Camper
- Step-by-Step Guide to Leveling Your Camper
- Leveling Techniques for Different Terrains
- Maintaining Level During Your Stay
- Leveling Systems and Upgrades
- Troubleshooting Common Leveling Issues
- Level Up Your RV Experience at Black Hawk Creek RV Park!
- Related Articles
Leveling a camper is one of the most essential tasks for any RV enthusiast. Whether you’re a weekend camper or embarking on a cross-country adventure, knowing how to level a camper can greatly enhance your overall experience. Not only does proper leveling ensure comfort and stability, but it also plays a critical role in the functioning of your camper’s appliances, like the refrigerator, and helps prevent long-term structural damage. In this guide, we’ll walk you through everything you need to know about RV leveling. Whether you’re learning how to level a travel trailer, a fifth wheel, or any type of RV, this comprehensive guide will teach you step-by-step techniques to master the art of leveling. Let’s get started.
Understanding the Importance of Leveling Your Camper
Proper leveling is vital for several reasons, beyond just making sure you sleep comfortably at night. Here are a few key reasons why knowing how to level a camper is crucial:
Comfort
Even a slight incline can make your stay uncomfortable. Imagine sleeping on a slant or trying to cook on a stovetop that isn’t level—both scenarios can make your camping experience unpleasant. Leveling ensures that your interior spaces are comfortable and easy to use.
Functioning of Appliances
Appliances, especially RV refrigerators, rely on being level to function properly. RV refrigerators often use absorption cooling technology, which requires a flat surface to work efficiently. If your camper isn’t level, the refrigerator may malfunction, leading to spoiled food and potential damage to the appliance.
Structural Integrity
Over time, parking on an uneven surface can put unnecessary strain on your RV’s frame, potentially causing long-term damage. Regularly parking on uneven ground without leveling can result in warping, weakening of the structure, and problems with doors or windows not closing properly.
Given these reasons, mastering travel trailer leveling techniques is essential for both short-term comfort and long-term maintenance.
Essential Tools for Leveling Your Camper
To level your camper correctly, you’ll need some essential tools. These tools make it easier to achieve a perfectly level position and maintain stability throughout your stay. Here’s what you’ll need:
Bubble Level
A bubble level is a simple and effective tool to help you measure whether your camper is level. You can place these on your RV’s floor or mount them externally to get accurate readings. Digital levels are also available for more precision.
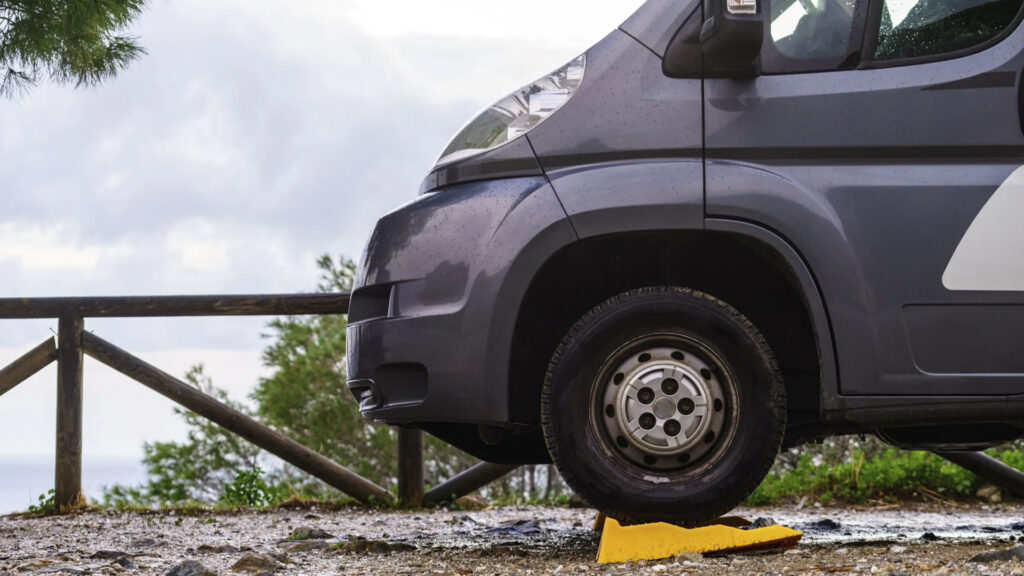
Leveling Blocks
Leveling blocks are essential when you need to raise one side of your camper to achieve a level surface. These blocks come in various materials, with plastic being a common choice for its durability and ease of use. Some RV owners also use wood scraps as an alternative.
Wheel Chocks
Chocks are vital for safety. After you’ve leveled your camper, placing wheel chocks around your tires will prevent any movement and keep your camper securely in place.
Stabilizing Jacks
While stabilizing jacks aren’t used for leveling, they play a key role in maintaining stability once your camper is level. You should always deploy these after the camper has been leveled to prevent swaying or shifting.
With these tools on hand, you’ll be well-prepared to level your camper and secure it in place.
Step-by-Step Guide to Leveling Your Camper
1. Choosing the Right Spot
Before you even think about leveling, you need to pick the right camping spot. Look for areas that are as flat as possible, as this will make the leveling process much easier. If you’re staying at an established RV park, most spots will be relatively flat, but always use a bubble level to double-check.
When camping on more natural terrain, consider using smartphone apps that can assess the slope of the ground. The flatter the surface, the fewer adjustments you’ll need to make with leveling blocks and jacks.
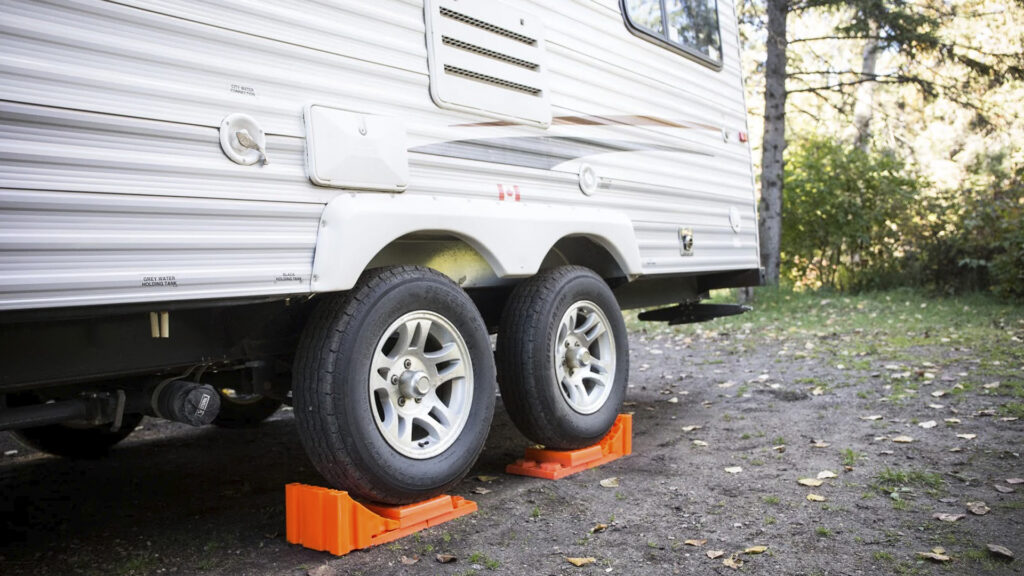
2. Side-to-Side Leveling
Once you’ve parked in your spot, the first step in how to level a camper is to level it from side to side. This step is crucial because uneven leveling in this direction can cause everything in the RV to feel off balance.
- Use your bubble level to check the camper’s side-to-side alignment.
- If one side is lower than the other, place leveling blocks under the tires on the lower side.
- Slowly drive your RV onto the blocks, adding more if necessary, until the camper is level from side to side.
- Make small adjustments, as over-correcting can damage your tires or suspension.
Side-to-side leveling ensures the RV’s width is balanced, reducing strain on the frame and improving overall stability.
3. Front-to-Back Leveling
After leveling side to side, the next step is front-to-back leveling, which is handled by adjusting the height of the camper’s tongue jack.
- Use the bubble level to check the camper’s front-to-back alignment.
- Adjust the tongue jack to either raise or lower the front of the camper until it’s level.
- After reaching the desired position, deploy the stabilizing jacks to secure the camper.
Front-to-back leveling is crucial for ensuring water drains properly in sinks and showers, and for the overall comfort of moving around inside the RV.
4. Securing the Camper
Once you’ve leveled the camper, it’s time to secure it in place to prevent any shifting. This involves two key steps:
- Place Wheel Chocks: Place chocks behind and in front of each wheel to prevent movement.
- Deploy Stabilizing Jacks: These jacks should now be lowered to ensure your camper remains stable during your stay. Stabilizing jacks are not meant to level the RV but to reduce sway and movement.
Securing your camper ensures safety and stability throughout your trip, especially if you’re parked for several days.
Leveling Techniques for Different Terrains
Sometimes, finding a perfectly flat surface isn’t possible, and you’ll have to work with the terrain you’re given. Here are a few tips for how to level an RV on different types of terrain:
Slightly Sloped Ground
On gently sloped ground, you can usually level your camper with a few additional leveling blocks. Be sure to check your side-to-side and front-to-back levels frequently as you make adjustments.
Rocky Surfaces
Rocky surfaces present more of a challenge. Make sure to avoid placing leveling blocks on top of large rocks, as this can create instability. Instead, try to clear the area of rocks before leveling, or move to a smoother spot if possible.
Soft Soil
On soft soil or sand, leveling blocks can sink into the ground, making it difficult to maintain a level surface. In this case, using larger, wider leveling boards or blocks can help distribute the weight of the RV more evenly.
Maintaining Level During Your Stay
Even after successfully leveling your camper, the ground can shift due to settling, or weather conditions can change the terrain. To maintain the level during your stay:
- Monitor Regularly: Use a bubble level to periodically check if your camper is still level.
- Re-adjust if Needed: If the camper becomes uneven, you may need to slightly adjust the jacks or add blocks.
- Be Cautious in Wet Weather: Rain can soften the ground and cause your camper to sink slightly, so make adjustments if necessary.
Maintaining a level camper ensures ongoing comfort and prevents damage to your appliances.
Leveling Systems and Upgrades
If manually leveling your camper every time you park sounds tedious, you may want to explore some leveling system upgrades.
Automatic Leveling Systems
Automatic leveling systems take the guesswork out of leveling your RV. These systems use hydraulic or electric jacks to automatically adjust your camper’s level at the push of a button. While these systems can be expensive, they save time and effort, especially for those who frequently change campsites.
Leveling Scissor Jacks
Scissor jacks can be used in conjunction with traditional leveling methods to fine-tune the leveling process. These jacks are especially useful for heavy RVs, as they provide extra support and stability.
Upgrading to these systems can make RV leveling more convenient, but they may not be necessary if you’re comfortable with manual leveling.
Troubleshooting Common Leveling Issues
Even with the right tools and techniques, RV owners can encounter problems while leveling. Here are some common issues and solutions:
Uneven Settling
Over time, the ground beneath your camper may shift. If this happens, recheck your levels and make adjustments as needed.
Stuck Jacks
Sometimes stabilizing jacks can become stuck, especially if dirt or debris gets caught in the mechanism. Keeping your jacks clean and lubricated can help prevent this issue.
Difficulty Achieving a Perfect Level
If you find it hard to achieve a perfect level, don’t stress too much—slight imperfections are okay as long as your camper feels stable and your appliances are functioning properly.
Level Up Your RV Experience at Black Hawk Creek RV Park!
Whether you’re a full-time RV dweller or just learning how to level a travel trailer for your next adventure, there’s no better place to settle in than Black Hawk Creek RV Park & Cabins. Located near iconic attractions like Mount Rushmore and the Badlands, our park offers a perfect blend of convenience, natural beauty, and modern amenities. Book your stay today and enjoy South Dakota’s finest, knowing you have a perfectly level and comfortable base to return to every night! Let your next adventure begin here.