Table of contents
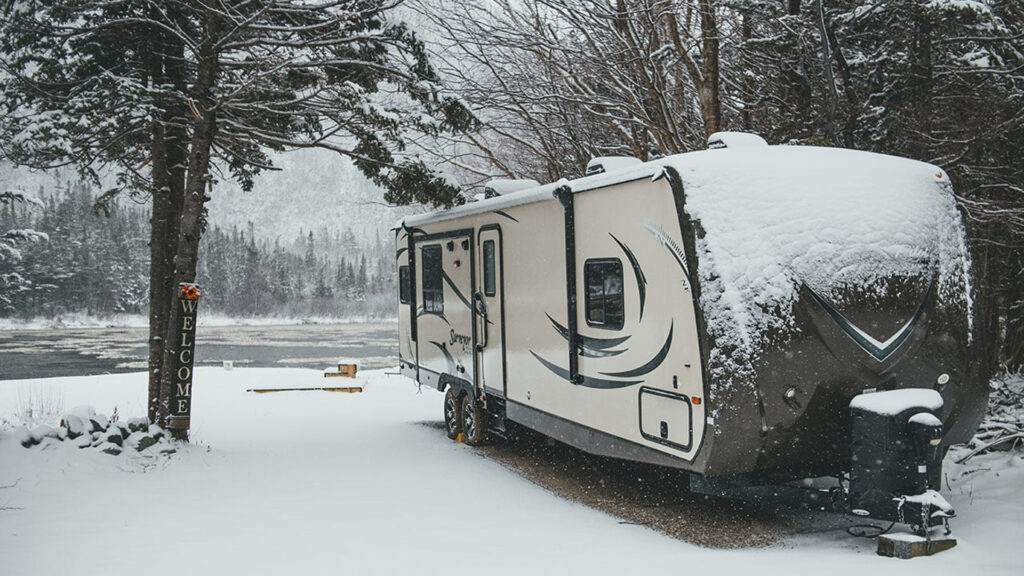
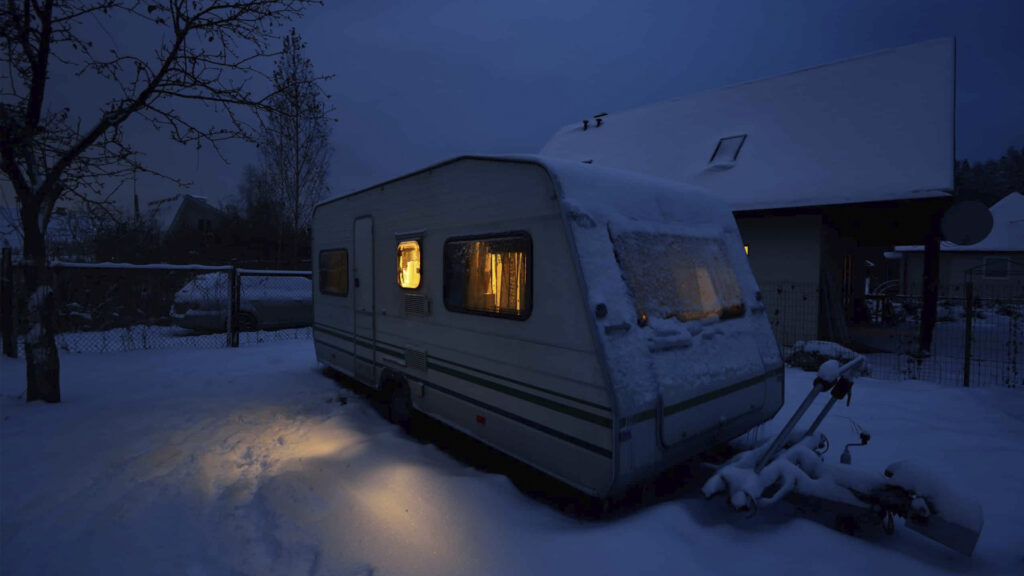
Winter is coming, and for many RV and travel trailer owners, that means it’s time to prepare for the off-season. Properly winterizing your camper is essential to avoid expensive repairs caused by freezing temperatures, which can damage pipes, appliances, and other critical systems. In this comprehensive guide, we will walk you through how to winterize a camper, ensuring that your RV or travel trailer is safe, protected, and ready for next season’s adventures. Whether you’re a seasoned RV owner or winterizing for the first time, this step-by-step guide will cover everything you need to know about winterizing an RV.
Understanding the Importance of Winterization
Before diving into the details of how to winterize a camper, it’s important to understand why this process is essential. When temperatures drop below freezing, any water left in your camper’s plumbing system can freeze and expand, causing pipes to burst, seals to crack, and water pumps to fail. This can lead to costly repairs that could have been avoided with proper RV winterizing techniques.
Beyond the plumbing, cold weather can also affect your RV’s exterior, battery, and tires. Winterizing an RV isn’t just about protecting your plumbing—it’s about safeguarding your investment and ensuring that it’s ready to hit the road when warm weather returns.
Essential Tools and Materials for Winterizing a Camper
To begin winterizing an RV, you’ll need a few essential tools and supplies. Proper preparation will make the process easier and more effective:
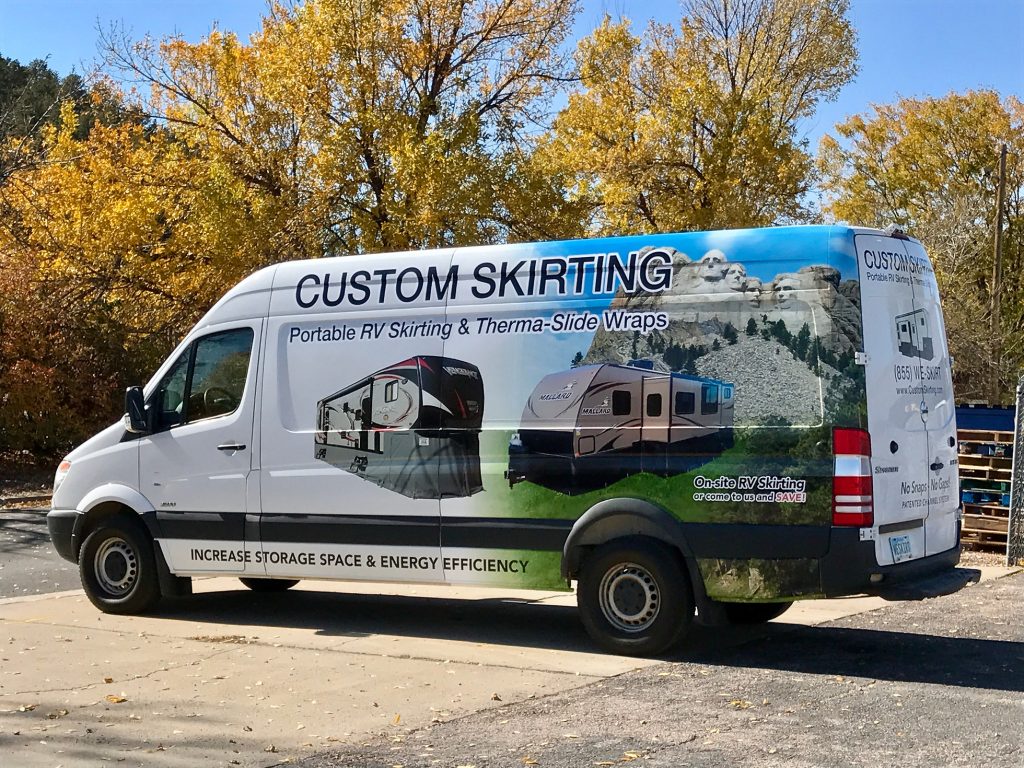
- RV Skirting (for insulating and protecting the RV’s underbelly)
- RV-specific antifreeze (non-toxic, designed for potable water systems)
- Air compressor (for blowing out water lines)
- Water pump converter kit (or a hand pump to assist in antifreeze distribution)
- Basic hand tools (for accessing low-point drains, water heater, etc.)
- Water heater bypass kit (if not already installed)
Using RV-specific antifreeze is critical because it’s safe for your water system. Unlike automotive antifreeze, RV antifreeze is non-toxic, making it ideal for winterizing your camper’s potable water lines.
Step-by-Step Winterization Process
Now, let’s go over the detailed steps for how to winterize a camper to protect it from freezing conditions.
1. Drain the Water System
The first step in how to winterize a travel trailer or RV is to completely drain the water system. This includes:
- Fresh Water Tank: Empty the fresh water tank by opening the drain valve.
- Hot Water Heater: Be sure to turn off the water heater and allow it to cool before draining. Open the pressure release valve and use the drain plug to empty it completely.
- Low-Point Drains: Open the low-point drains (typically located underneath the RV) to ensure all remaining water is removed from the plumbing.
Always take caution when draining the hot water heater—water inside can be extremely hot and cause injury.
2. Bypass the Water Heater
When winterizing an RV, it’s important to bypass the water heater. This ensures that antifreeze isn’t wasted filling up the large water heater tank. Many RVs come with a bypass valve, but if yours doesn’t, you can install a water heater bypass kit.
3. Blow Out the Water Lines
Next, use an air compressor to blow out the remaining water from your camper’s water lines. Set the compressor to a low PSI (around 30-40 PSI) to avoid damaging the lines. Connect the compressor to the city water connection and blow out the lines by opening each faucet and valve (hot and cold) until no water is left.
This step is optional if you are using antifreeze in the next step, but blowing out the lines can help ensure there is minimal water left behind.
4. Add Antifreeze to the System
Now it’s time to add antifreeze to your RV’s plumbing system. Here’s how to winterize an RV with antifreeze:
- Water Pump Converter Kit: Attach a converter kit to your water pump or use a hand pump to draw antifreeze into the system.
- Run Antifreeze Through the System: Starting from the furthest faucet, open each hot and cold tap until you see pink antifreeze coming through. Be sure to include sinks, showers, outdoor showers, and the toilet.
- Drain Traps and Tanks: Pour antifreeze into sink and shower drains to protect the P-traps. Add some to the holding tanks to ensure any remaining water is diluted and won’t freeze.
For an average-sized camper, you’ll typically need 2-3 gallons of antifreeze, but larger campers may require more.
5. Protect Drains and P-Traps
As you run antifreeze through the system, don’t forget about the drains. Pour a small amount of antifreeze down each sink and shower drain to ensure the P-traps are protected from freezing. These traps hold a small amount of water to prevent sewer gases from entering your RV, and frozen P-traps can cause unpleasant odors and pipe damage.
6. Winterize Appliances and External Components
Certain appliances and external systems may also need attention during RV winterizing:
- Ice Makers: Disconnect the water line and blow it out with compressed air or fill it with antifreeze.
- Washing Machines: Follow the manufacturer’s instructions for winterizing the water lines and drum.
- Outdoor Showers: Ensure the outdoor shower is fully drained and filled with antifreeze if needed.
- Awnings and Slide-Outs: Clean and retract your awnings and slide-outs, ensuring they are dry before storage.
Additional Winterization Considerations
Battery Maintenance
Proper battery maintenance is essential for how to winterize a camper. Cold temperatures can cause your battery to lose its charge, so it’s a good idea to remove it and store it in a dry, temperature-controlled environment. Clean the battery terminals, fully charge it, and check on it periodically to ensure it stays in good condition throughout the winter months.
Tire and Exterior Care
Protecting your tires and RV exterior is just as important as the plumbing during winter storage. Here are some tips:
- Tire Protection: Cover your tires to protect them from the elements, especially UV rays. Make sure they’re inflated to the proper pressure to prevent flat spots.
- Exterior Cleaning: Give your RV a thorough wash and wax before storage to remove any dirt or debris that could cause damage over time.
Pest Prevention
When winterizing an RV, don’t overlook pest prevention. Rodents and insects often seek shelter in RVs during the winter months. Seal up any entry points, such as gaps around doors and windows, and consider placing pest deterrents like mothballs or peppermint oil inside to keep unwanted visitors out.
Knowing how to winterize a camper properly is crucial for protecting your investment and ensuring a smooth start to the next camping season. By following these steps, you can avoid costly repairs and extend the life of your RV or travel trailer. From draining water systems to adding antifreeze and maintaining your exterior, winterizing an RV is an essential task for every camper owner.
If you’re new to RV ownership or looking for tips on how to winterize a travel trailer, this guide provides the step-by-step instructions you need. By investing a little time in RV winterizing, you’ll enjoy peace of mind knowing your camper is well-prepared for the cold winter months.
Now that you know how to winterize your camper, you can confidently prepare for winter storage and ensure your RV is ready for next season’s adventures!
Protect Your RV This Winter and Save!
Ready to winterize your camper and save on your next adventure? At Black Hawk Creek RV Park & Cabins, we’re offering a $200 credit toward your stay when you book Custom Skirting services to protect your RV from harsh winter conditions. Enjoy peace of mind knowing your RV is safeguarded while you explore South Dakota’s breathtaking attractions like Mount Rushmore and the Badlands. Secure your discounted stay and prep your RV for winter today at Black Hawk Creek RV Park—your perfect year-round base camp. Book now and let the adventure begin!