Table of contents
- Why You Need an RV Setup Checklist
- Pre-Arrival Preparations
- Arriving at the Campsite
- Exterior Setup
- Interior Setup
- The 333 Rule for RV Camping
- RV Must-Haves for a Smooth Setup
- Stocking Your RV for the First Time
- Teardown and Departure Checklist
- Perfect Your RV Setup at Black Hawk Creek RV Park: Book Your Stay Today!
- Related Articles
RV camping offers the ultimate freedom to explore new destinations while enjoying the comforts of home. Whether you’re a seasoned traveler or a first-time RV owner, a proper setup is essential to ensure a safe, comfortable, and enjoyable experience. This RV setup checklist will guide you through the entire process of setting up your RV, from pre-arrival preparations to final departure. Whether you’re using an RV setup checklist for beginners or refining your process with a first-time RV owner checklist, this guide covers everything you need to know to avoid costly mistakes and enjoy your trip to the fullest. A travel trailer setup checklist is a powerful tool that helps alleviate stress, prevent common mistakes, and ensure that you don’t forget crucial tasks. In this comprehensive guide, we’ll cover all the steps needed to get your RV ready for a hassle-free adventure.
Why You Need an RV Setup Checklist
An RV setup checklist for beginners is more than just a simple list; it’s a tool designed to streamline your preparation process and ensure nothing is overlooked. By having a detailed checklist, you minimize the risk of forgetting critical tasks, which could result in costly repairs, delayed trips, or safety issues. Whether you’re a beginner or an experienced camper, a first-time RV owner checklist will help you avoid mishaps and enhance your overall camping experience.
For example, without a checklist, you might forget to level your RV, causing discomfort during your stay or even damaging the RV’s components. A checklist will remind you to check things like tire pressure, secure loose items inside, and double-check your campground reservations. In short, an RV checklist for beginners and experienced travelers alike ensures that your setup process is smooth, safe, and efficient.
Pre-Arrival Preparations
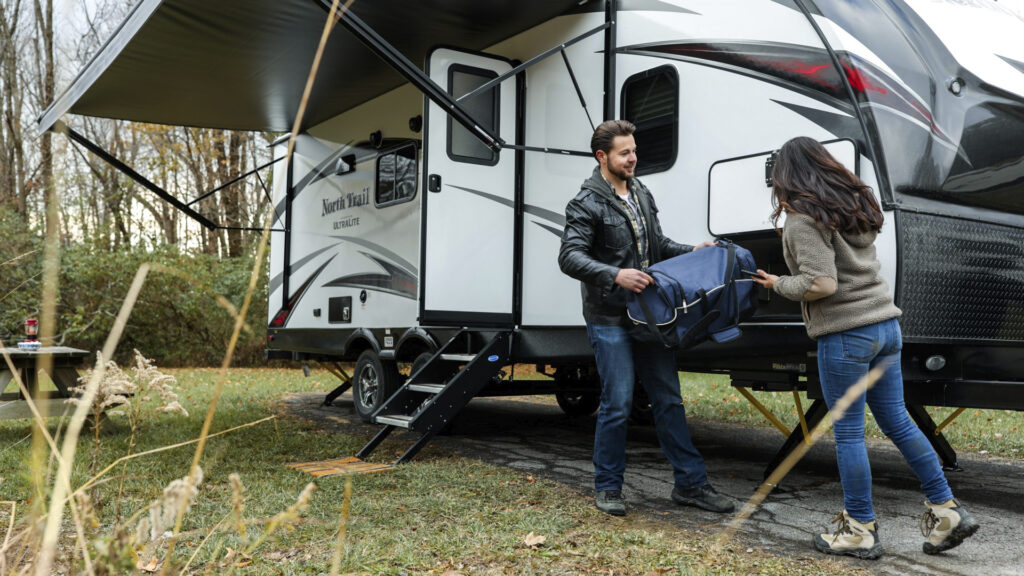
Before you even hit the road, proper planning is key to a successful RV trip and having a RV setup for beginners is essential. Here’s what you need to do before you arrive at your campsite:
- Check Reservations: Confirm your campsite reservation to avoid any surprises upon arrival. If you’re staying at a private campground, make sure you’ve received the necessary confirmation details.
- Plan the Route: Ensure that your RV is properly equipped for the road trip. Plan your route and check for low-clearance areas or narrow roads that may be difficult to navigate with a large RV.
- Prepare the RV for Travel:
- Tire Pressure: Ensure that the tires are properly inflated to prevent blowouts.
- Test Lights: Check that all lights, including brake lights and turn signals, are working.
- Secure Loose Items: Inside the RV, make sure everything is properly secured to prevent damage during travel.
By addressing these pre-arrival tasks, you’ll ensure that your RV is road-ready and your trip will start on the right foot.
Arriving at the Campsite
Once you’ve reached your destination, it’s time to start the setup process. Here’s a step-by-step guide to follow:
- Check-In: Head to the campground office to check in. This is where you’ll get your site assignment and any necessary campground rules or information.
- Locate Your Site: Once you’re assigned a site, drive to it slowly and ensure it’s level. This will make the rest of the setup process easier.
- Assess the Site: Look for any obstacles that could interfere with your setup, such as trees, rocks, or uneven ground. It’s essential to have a level site to ensure comfort during your stay.
- Positioning the RV: Communicate with your spotter if you have one. This will help you safely back into your site and position your RV for easy access to utilities and a comfortable stay.
Exterior Setup
Once you’ve positioned your RV, it’s time to start setting up the exterior. Here’s what you’ll need to do:
Leveling the RV
Leveling your RV is one of the first tasks on the RV setup checklist. Use leveling blocks or hydraulic jacks to raise and lower the RV as needed. Make sure the RV is level from side to side and front to back. If your RV isn’t level, you’ll experience discomfort, and it can affect appliances like your refrigerator or water system.
Connecting to Campsite Utilities
Next, you’ll connect your RV to the campsite’s utilities:
- Electricity: Plug your RV into the power supply, using a surge protector to prevent electrical damage. Check that the power is working before turning on appliances.
- Water: Connect your water hose to the campsite’s water source. Be sure to use a water filter to ensure the water quality inside your RV.
- Sewer: Attach the sewer hose to the RV and the campsite hookup, making sure it is securely connected to avoid any leaks.
Extending Slide-Outs and Awnings
If your RV has slide-outs or awnings, extend them to maximize living space and outdoor comfort. Be sure to check that the slide-outs are fully extended and that the awnings are securely fastened to avoid damage from wind or rain.
Setting Up Outdoor Living Space
Setting up an outdoor living space can greatly enhance your camping experience. Arrange outdoor furniture, set up a grill, and add any other amenities that will make your campsite more comfortable and inviting.
Interior Setup
Once the exterior is set up, it’s time to focus on the interior. Here’s a breakdown of what to do:
Turning On Systems
Make sure your RV’s systems are operational:
- Water Pump: Turn on the water pump to ensure water flows properly throughout your RV.
- Water Heater: Activate the water heater to ensure hot water is available when needed.
- Refrigerator: Turn on the refrigerator and adjust the temperature as needed to keep your food fresh.
Preparing the Living Space
Organize the interior of the RV to maximize comfort. Set up the beds, arrange your personal items, and ensure that everything is secure for the duration of your stay.
Safety Checks
Before settling in, perform a safety check by testing your RV’s smoke detectors, carbon monoxide detectors, and fire extinguishers. These are essential for your safety while camping, and checking them regularly is a critical part of your first-time RV owner checklist.
The 333 Rule for RV Camping
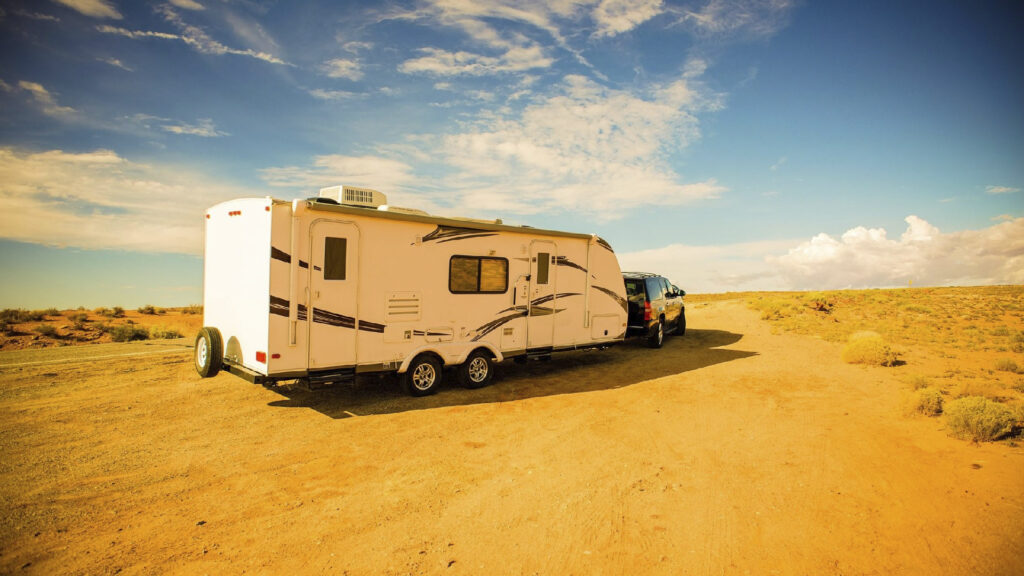
One way to reduce stress and enhance your RV camping experience is by following the 333 Rule. This rule recommends that you:
- Drive no more than 300 miles per day
- Arrive no later than 3:00 PM
- Stay at least 3 days at each campsite
By following the 333 Rule, you’ll avoid long driving days, reduce the stress of late arrivals, and allow yourself enough time to explore and enjoy the area.
RV Must-Haves for a Smooth Setup
Having the right tools and equipment will make your RV setup process much easier. Here are some essential items for a smooth and efficient setup:
- Leveling Blocks: For leveling your RV.
- Surge Protector: To protect your RV’s electrical system from power surges.
- Water Filter: To ensure safe and clean water for drinking and cooking.
- Sewer Hose: For connecting your RV to the campsite’s sewer hookup.
- Outdoor Furniture: To create a comfortable outdoor living area.
Having these must-haves on hand will make the setup process quick and stress-free.
Stocking Your RV for the First Time
Before hitting the road, ensure that your RV is fully stocked for your first trip. Here’s a checklist of items you’ll need:
- Kitchen Essentials: Pots, pans, utensils, plates, cups, and a can opener.
- Bedding: Pillows, blankets, and sheets for comfortable sleeping.
- Toiletries: Soap, shampoo, toilet paper, and a first aid kit.
- Basic Tools: A wrench set, flashlight, and extra fuses.
By stocking your RV with these essentials, you’ll be ready for anything the road throws at you.
Teardown and Departure Checklist
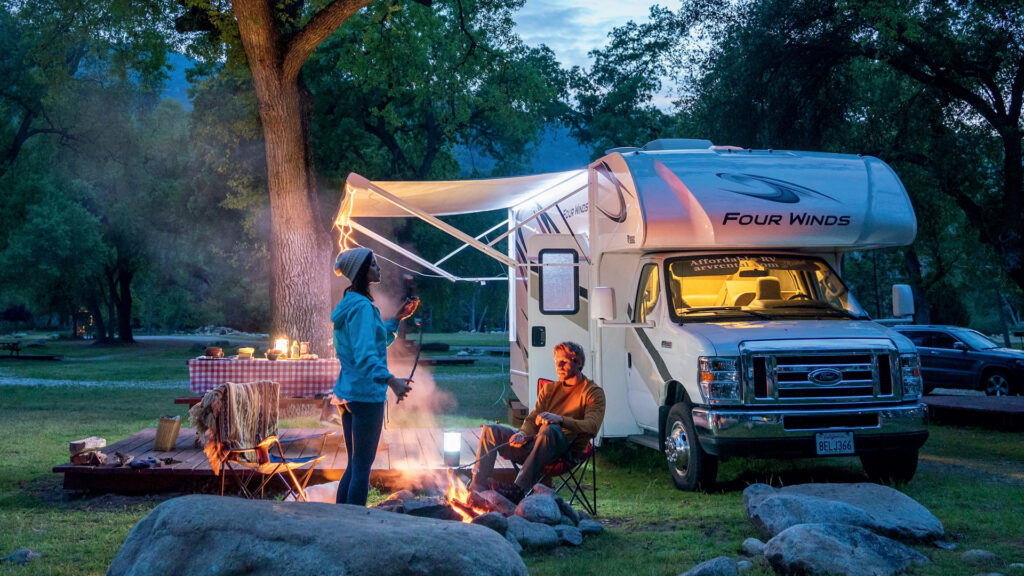
When it’s time to leave, it’s essential to follow a reverse travel trailer setup checklist to ensure everything is properly packed up and ready for travel. Here’s what to do:
- Disconnect Utilities: Unplug from electricity, water, and sewer hookups, and store all hoses and cables properly.
- Retract Slide-Outs and Awnings: Ensure all slide-outs and awnings are safely retracted before moving.
- Check Interior: Secure all items inside to prevent damage during travel.
- Level the RV: Ensure the RV is properly leveled before hitting the road.
- Final Walkthrough: Double-check everything to ensure you’ve not forgotten anything.
Having a teardown checklist will make your departure as smooth as your setup, ensuring you leave the campsite in good condition.
Whether you’re using an RV checklist for beginners or refining your travel trailer setup checklist, a well-organized RV setup checklist is an essential tool for any camper. By following this comprehensive guide, you’ll ensure a hassle-free and enjoyable camping experience every time. With the right preparation and tools, you can focus on the fun and adventure of RV camping, knowing that your setup is safe, efficient, and stress-free.
Perfect Your RV Setup at Black Hawk Creek RV Park: Book Your Stay Today!
Ready to refine your RV setup skills while exploring the iconic landscapes of South Dakota? Black Hawk Creek RV Park & Cabins offers a prime location just minutes from Mount Rushmore, Badlands National Park, and other must-see attractions. Our spacious sites and modern amenities provide the ideal environment for practicing your RV setup. Connect with fellow travelers, gather helpful tips, and enjoy the tranquility of nature as you perfect your camping skills. Book your stay today at Black Hawk Creek RV Park—your gateway to an unforgettable adventure!
