Table of contents
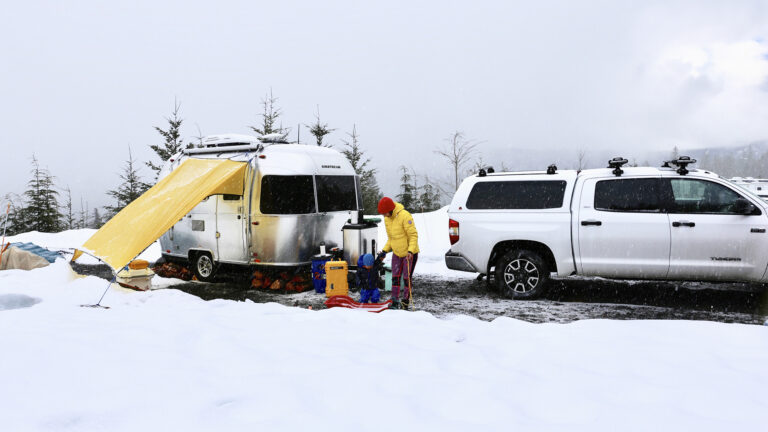
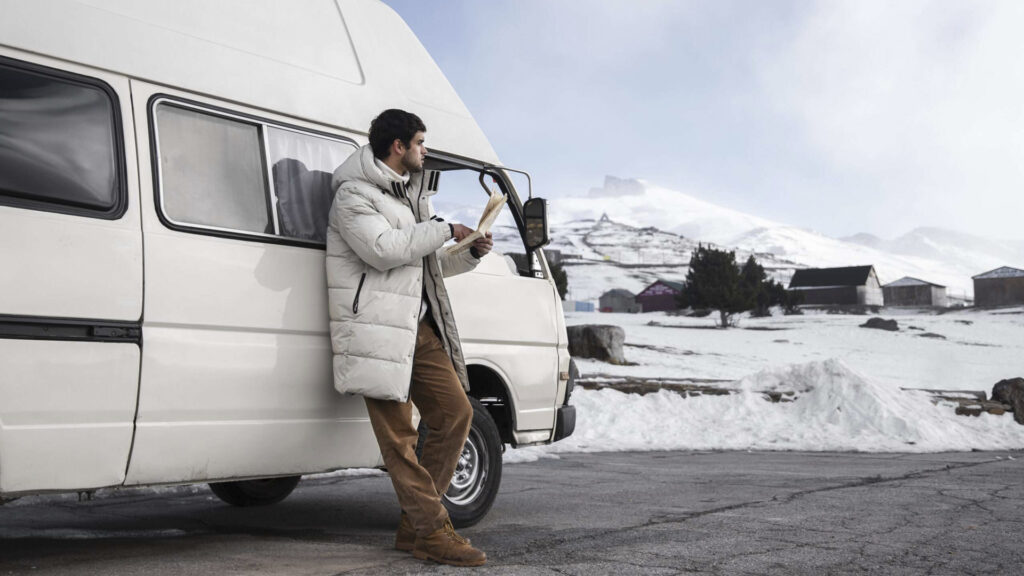
Winterizing your camper is essential for preventing water damage, freezing issues, and costly repairs. Knowing how to winterize an RV can save thousands of dollars in potential repairs and ensure that your RV is in top shape for the next camping season. This guide covers every aspect of how to winterize a camper and how to winterize a travel trailer, from the tools and materials you need to a step-by-step process that works for beginners and seasoned RV owners alike. With proper winterization, you’ll protect your camper, reduce wear, and keep it ready for adventure.
Understanding the Importance of Winterization
Failing to winterize a camper can lead to various costly and troublesome issues. Freezing temperatures can wreak havoc on an RV’s plumbing and electrical systems, and lingering moisture can encourage mold and mildew growth. Here’s why winterizing a camper is essential:
- Burst Pipes: When water freezes, it expands and can crack pipes and fittings. Replacing these can be costly and time-consuming.
- Damaged Water Heaters and Pumps: If water remains in the heater or pump, it can freeze and damage the components.
- Mold Growth: Trapped moisture and uncleaned areas can lead to mold, which is difficult and costly to remove.
- Keep rodents out: Having a sturdy RV Skirt can help keep mice and other rodents out of your RV.
The cost of repairing freeze damage can be extensive. On the other hand, following how to winterize a travel trailer guide and investing in antifreeze and essential supplies can protect your camper for the long term.
Essential Tools and Materials for Winterizing
When learning how to winterize a travel trailer, you’ll need some specialized tools and supplies. Here’s a checklist to help you get started:
- RV Antifreeze: Specially formulated to prevent freezing in RV systems.
- Air Compressor and Blow-Out Plug: Used to remove any remaining water from the lines.
- Water Heater Bypass Kit: Prevents antifreeze from entering the water heater, saving time and money.
- Basic Hand Tools: For adjusting and securing various components.
- Cleaning Supplies: Necessary for preparing the camper for winter storage.
Each of these items serves a specific purpose in the winterizing a camper process. RV antifreeze is safe for plumbing, while the blow-out plug ensures all lines are cleared of water, reducing the risk of freezing.
Step-by-Step Winterization Process
Following a structured approach is key to effective winterization. Here’s how to tackle each step:
1. Draining the Water System
Draining your water system is crucial to prevent frozen water from damaging pipes and appliances.
- Disconnect from External Water Sources: Turn off all external water hookups.
- Turn Off the Water Heater and Allow it to Cool: This prevents scalding and prepares it for draining.
- Locate and Open All Low-Point Drains: Allow water to drain from pipes.
- Drain the Fresh Water Tank: Open the drain valve to remove any remaining water.
- Flush the Toilet and Drain the Black Water Tank: Complete this step at a dumping station, then add antifreeze to prevent leftover water from freezing.
Removing water from the system prevents potential freezing and ensures a thorough winterize camper process.
2. Bypassing the Water Heater
Bypassing the water heater prevents antifreeze from filling it up, which would waste both time and antifreeze.
- Install a Water Heater Bypass Kit: If your RV doesn’t already have one, install a bypass kit. This redirects antifreeze flow around the water heater.
- Engage the Bypass Valve: If a kit is already installed, set the valve to bypass mode.
This step is crucial because antifreeze in the water heater is unnecessary and can be costly.
3. Blowing Out the Water Lines
Using compressed air to blow out any remaining water in the lines ensures they are empty and less likely to freeze.
- Attach the Blow-Out Plug: Connect it to the city water inlet of your camper.
- Set Compressor PSI to a Safe Level (30-50 PSI): Excessive pressure can damage the lines.
- Open Faucets One by One: Turn on faucets to release remaining water as you apply air.
Clearing water from the lines prevents residual moisture from freezing, a common step in how to winterize a camper.
4. Adding Antifreeze to the System
RV antifreeze is a non-toxic solution specifically designed for plumbing systems and is safe to use throughout the camper.
- Use a Hand Pump or Winterizing Kit: Connect the pump to the water intake and start introducing antifreeze.
- Run Antifreeze Through Faucets, Shower, and Toilet: Open each faucet, allowing antifreeze to run through until you see a consistent pink color.
- Pour Antifreeze into P-Traps and Drains: Pour directly into drains to protect them from freezing.
This step is key to ensuring that every part of your system is protected from freezing, especially in colder climates.
5. Protecting the Exterior
Don’t overlook the camper’s exterior when winterizing. The following steps will keep your RV safe from moisture and pests:
- Clean and Dry the Camper Exterior: Dirt and grime can damage the exterior over winter.
- Inspect and Reseal Any Cracks or Gaps: Use a sealant to close up potential leaks.
- Cover Vents and Openings: This prevents pests and drafts from entering.
- Store or Cover the Camper: If possible, keep your camper in a protected location or cover it with a breathable cover to protect it from snow and ice.
Protecting the exterior is essential to prevent weather damage and maintain the longevity of your RV.
6. Winterizing Appliances and Batteries
Several appliances require specific steps for winterization, and proper battery storage will extend its lifespan.
- Refrigerator: Defrost, clean, and leave the door slightly open to prevent mold.
- Air Conditioner: Cover it to prevent debris buildup and protect it from cold.
- Generator: Run it briefly with a fuel stabilizer, then shut it down and cover.
- Batteries: Disconnect, fully charge, and store batteries in a cool, dry place.
By preparing each appliance, you’ll keep them safe during the winter and extend their overall lifespan.
Additional Winterization Considerations
Beyond basic steps, there are a few other tips to keep your camper safe over the winter.
- Remove Food and Perishables: Leaving food can attract pests.
- Use Moisture Absorbers: Prevent mold and mildew by placing moisture absorbers in the camper.
- Lubricate Locks and Hinges: This prevents rust and sticking.
- Check Tire Pressure: Properly inflated tires help maintain their condition.
- Rodent and Pest Prevention: Place traps or deterrents as needed.
Following these tips will ensure your camper is safe and in excellent condition come spring.
Spring De-Winterization Process
Once the camping season arrives, it’s time to reverse the process. Here are a few basic de-winterization steps:
- Flush the Antifreeze from the System: Run fresh water through faucets and drains until all antifreeze is gone.
- Reconnect the Water Heater and Fill Tanks: Reinstall any removed components.
- Check All Systems for Leaks or Issues: Make sure everything is functioning properly.
By de-winterizing, you’ll get your RV ready for the open road again.
Proper winterizing a camper ensures that your RV is protected and ready to handle colder weather. By following these steps on how to winterize an RV, you’ll avoid costly repairs and prolong the life of your camper.
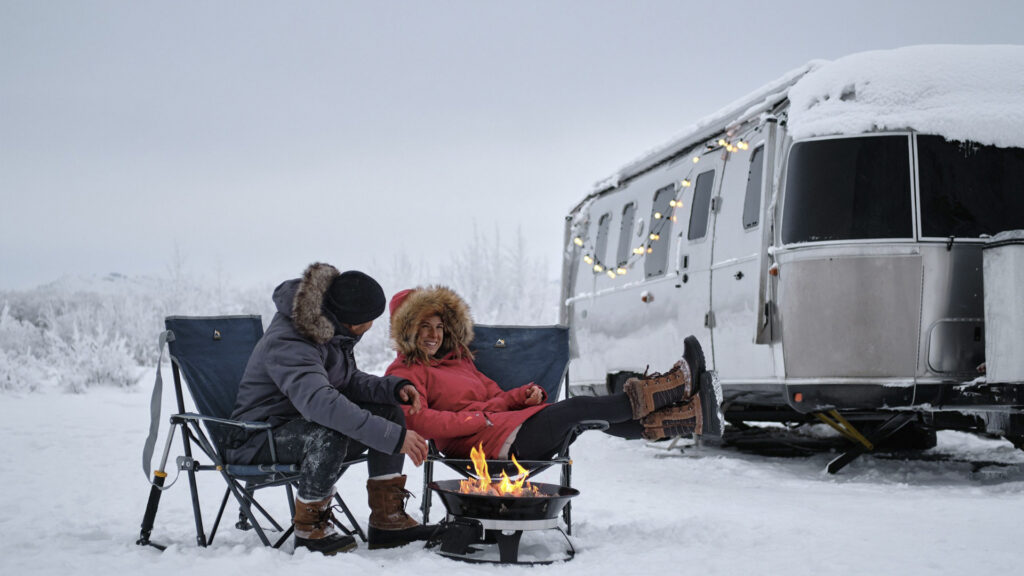
Keep Your RV Protected All Winter and Save on Your Next Adventure!
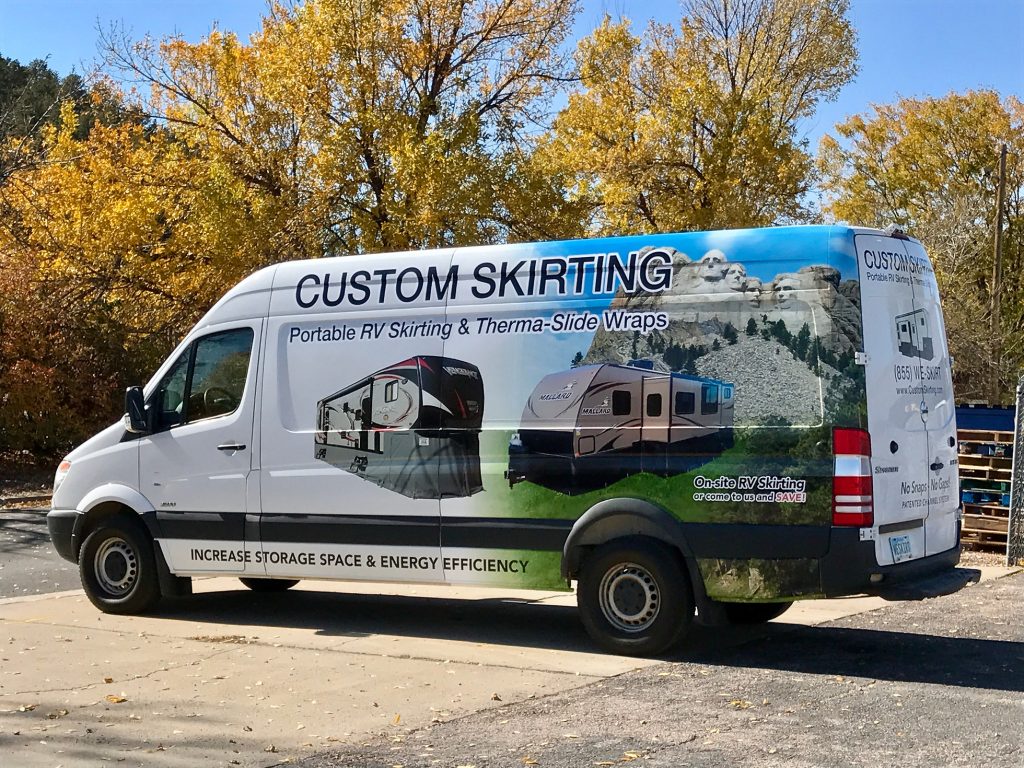
Make sure your RV is fully winter-ready with Custom Skirting to keep it insulated and protected through every season. As an added bonus, when you book Custom Skirting, you’ll receive a $200 credit towards your stay at Black Hawk Creek RV Park & Cabins! Located in the heart of South Dakota, our park is the perfect base camp for exploring the stunning Badlands, iconic Mount Rushmore, and vibrant Rapid City. Embrace a winterized RV lifestyle with the best in comfort and savings. Book your stay today and experience South Dakota in all its splendor!