Table of contents
- Understanding RV Interior Surfaces
- Popular RV Interior Color Schemes
- Step-by-Step Guide to Painting Your RV Interior
- Inspirational Before and After Transformations
- Alternative and Complementary Renovation Options
- Professional Help Options
- Maintenance and Durability Tips
- Conclusion
- Transform Your RV While Enjoying the Perfect Home Base
- Related Articles
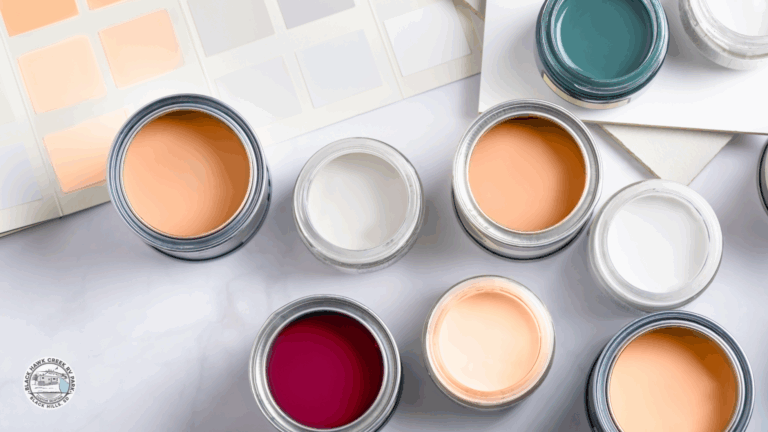
Are you tired of your RV’s dated wood paneling, faded wallpaper, or dark interior? Implementing RV interior paint ideas is one of the most cost-effective ways to dramatically transform your mobile living space. Whether you’re planning a complete camper remodel or just want to refresh your space, the right RV interior color schemes can make your small space feel larger, brighter, and more personalized. This comprehensive guide will walk you through everything from selecting the perfect camper interior paint ideas to executing a professional-looking finish that will completely revitalize your home on wheels.
Understanding RV Interior Surfaces
Before diving into RV paint ideas interior projects, it’s crucial to understand what you’re working with. RV interiors typically feature several different surface types, each requiring specific approaches:
Common RV Interior Materials
- Luan plywood with wallpaper texture: Most RV walls consist of thin luan plywood with adhered wallpaper texture. Removing this wallpaper is typically not recommended as it can damage the underlying material, though decorative borders can often be safely removed.
- Vinyl panels: Some RVs feature vinyl wall coverings that require special preparation before painting.
- Laminate surfaces: Countertops, tables, and some cabinet facings may be laminate, which needs specific primers to ensure paint adhesion.
- Wood cabinetry: Cabinet boxes and doors are often made of various wood products, from solid wood to particleboard with veneer.
Understanding your RV’s specific materials is essential for selecting the right primers and paints. When in doubt, test your approach on a small, inconspicuous area first—especially when exploring camper remodel RV interior paint ideas that may involve unique finishes or surfaces. For extensive renovations during your travels, consider staying at Black Hawk Creek RV Park, which offers spacious sites perfect for DIY projects.
Popular RV Interior Color Schemes
Modern Farmhouse
The modern farmhouse aesthetic has become one of the most popular RV interior paint ideas in recent years. This style creates a bright, airy feeling that’s perfect for small spaces:
- Primary colors: Whites and creams for walls and upper cabinets
- Accent colors: Black hardware and fixtures, with possibly darker lower cabinets
- Recommended paint colors:
- Benjamin Moore “Simply White” or “White Dove”
- Sherwin-Williams “Alabaster” or “Pure White”
- Behr “Swiss Coffee” or “Polar Bear”
This style works particularly well in RVs because it maximizes light reflection, making spaces feel larger. Complete the look with natural wood accents, simple textiles, and minimal decor for a clean, timeless appeal that won’t quickly date your interior.
Neutral and Light Palettes
Neutral color schemes remain a versatile choice for RV interior color schemes, offering flexibility and timeless appeal:
- Off-white with dark accents: Create visual interest with contrasting trim
- Greige options: These gray-beige hybrids provide warmth while remaining neutral
- Recommended paint colors:
- Benjamin Moore “Edgecomb Gray” or “Classic Gray”
- Sherwin-Williams “Agreeable Gray” or “Repose Gray”
- Behr “Silver Drop” or “Wheat Bread”
To prevent neutral spaces from feeling bland, incorporate texture through fabrics, natural elements, and varying sheen levels in your paint. Many full-time RVers prefer neutral palettes for their versatility and ability to make small RV spaces feel larger.
Bold Color Accents
While light colors maximize space, strategic bold accents can add personality to your rv paint ideas interior project:
- Cabinet color pops: Navy blue, forest green, or burgundy lower cabinets with neutral walls
- Accent walls: A single wall in a bold hue can create a focal point without overwhelming
- Color psychology considerations:
- Blues promote calm and relaxation
- Greens connect with nature and reduce stress
- Reds and oranges energize spaces but should be used sparingly
The key to successful bold color implementation is balance—pair vibrant hues with plenty of neutral space to prevent the confined RV interior from feeling chaotic or smaller.
Retro and Themed Designs
For those wanting unique camper interior paint ideas, themed designs offer creative possibilities:
- Retro-inspired: Mint green, turquoise, or sunny yellow paired with white for a vintage vibe
- Nature-inspired: Earthy tones like sage green, terracotta, or sky blue that reflect outdoor surroundings
- Beach themes: Coastal blues and sandy neutrals for a perpetual vacation feel
When implementing themed designs, use color strategically and incorporate complementary decor elements. The most successful themed RVs maintain a cohesive color story throughout the space rather than relying on obvious decorative elements.
Step-by-Step Guide to Painting Your RV Interior
Essential Supplies and Tools
Gathering the right supplies before starting your RV interior paint ideas project will ensure smoother execution:
Primers:
- Bonding primers specifically designed for difficult surfaces:
- PPG Gripper
- Kilz Adhesion
- INSL-X Stix
- Zinsser B-I-N Shellac-Based Primer (for severe cases of bleed-through)
Paints:
- Cabinet-grade acrylic enamel or urethane-modified acrylic for cabinets
- Premium latex paint for walls (satin or semi-gloss finish recommended for cleanability)
- Specialized products for vinyl surfaces, if applicable
Cleaning Supplies:
- TSP (trisodium phosphate) or TSP substitute
- Simple Green or other degreaser
- Microfiber cloths
- Vacuum with brush attachment
Application Tools:
- Quality synthetic brushes in various sizes
- Mini foam rollers (4″ for cabinets, 6-9″ for walls)
- Paint sprayer (optional but recommended for large areas)
- Paint trays and liners
Preparation Materials:
- Fine-grit sandpaper (220-320 grit)
- Sanding blocks
- Painter’s tape
- Drop cloths or plastic sheeting
- Spackling compound for repairs
- Caulk for seams
Investing in quality supplies will significantly impact your final results. For RVers working on renovations while traveling, Black Hawk Creek RV Park offers convenient access to nearby hardware stores in Rapid City.
Preparation Process
Proper preparation is the foundation of successful RV interior paint ideas implementation:
- Remove hardware and doors: Take off cabinet doors, drawer fronts, and all hardware. Label everything carefully for reinstallation.
- Clean thoroughly: Remove all grease, dirt, and residue using TSP or a substitute. This step is crucial for paint adhesion.
- Repair damage: Fill holes, cracks, and imperfections with appropriate fillers. Allow to dry completely before sanding smooth.
- Sand surfaces lightly: Use fine-grit sandpaper (220-320) to create a slightly roughened surface for primer adhesion. Wipe away all dust with a tack cloth.
- Mask and protect: Use painter’s tape to protect edges, fixtures, and areas not being painted. Cover floors and countertops with drop cloths.
- Ventilation: Ensure proper ventilation by opening windows and using fans. Consider working with the RV doors open if weather permits.
The time invested in preparation will directly impact the longevity and appearance of your finished project. Many RV renovation experts suggest that preparation accounts for 80% of a successful paint job.
Priming Techniques
Priming is non-negotiable for RV interior paint ideas projects:
- Choose the right primer: Use a bonding primer specifically designed for difficult surfaces. Standard primers will likely fail on RV surfaces.
- Application method:
- For cabinets: Mini foam rollers provide the smoothest finish, with brushes for detail areas
- For walls: Standard rollers work well, with brushes for edges and corners
- For large areas: A paint sprayer offers the most even coverage but requires more preparation
- Technique tips:
- Apply thin, even coats rather than one thick coat
- Follow the grain direction on wood surfaces
- Allow proper drying time between coats (typically 2-4 hours, but follow manufacturer recommendations)
- Sand lightly between primer coats for the smoothest finish
- Coverage: Most RV surfaces require two coats of primer for complete coverage and maximum adhesion.
Remember that primer is your insurance policy against future peeling and adhesion problems. This is not the step to rush or skip, especially when implementing RV interior color schemes or exploring camper remodel RV interior paint ideas on challenging surfaces.
Painting Application Methods
The application method you choose will depend on your comfort level, the size of your RV, and the specific surfaces:
Brush and Roller Method:
- Pros: Lower initial cost, easier setup/cleanup, better for detail work
- Cons: More time-consuming, potential for brush marks
- Best practices:
- Use high-quality synthetic brushes and foam rollers
- Apply paint in thin, even coats
- Maintain a “wet edge” to prevent lap marks
- Consider adding Floetrol to minimize brush marks
Paint Sprayer Method:
- Pros: Faster application, smoother finish, better coverage in tight spaces
- Cons: More extensive masking required, potential for overspray, learning curve
- Best practices:
- Practice on cardboard before starting on RV surfaces
- Keep the sprayer moving at a consistent speed and distance
- Apply multiple light coats rather than heavy applications
- Clean equipment thoroughly between uses
For most DIYers, a combination approach works best: sprayers for large open areas and cabinets, with brushes and rollers for detail work and touchups. When working on extensive renovations, consider staying at Black Hawk Creek RV Park, which provides the space needed for larger painting projects.
Inspirational Before and After Transformations
Light and Bright Makeovers
Some of the most dramatic RV interior paint ideas transformations involve converting dark, dated interiors to light, bright spaces:
Case Study: The Wood-Paneled Motorhome
- Before: Dark brown wood paneling throughout, creating a cave-like atmosphere
- After: Bright white walls and ceiling with light gray lower cabinets
- Impact: Space visually doubled in size, with modern appeal that highlights the RV’s architectural features
Case Study: The 90s Beige Trailer
- Before: Monochromatic beige with dated oak trim and cabinet doors
- After: Crisp white upper cabinets and walls with navy blue lower cabinets
- Impact: Contemporary coastal feel with dramatically improved light reflection
The key to successful light transformations is using high-quality primers to prevent bleed-through from the original dark surfaces. Most successful projects use two coats of shellac-based primer followed by two coats of paint for complete coverage—an essential tip in many camper remodel RV interior paint ideas.
Creative Cabinet Transformations
Cabinets offer excellent opportunities to implement RV interior color schemes with high visual impact:
Two-Tone Approaches:
- Upper cabinets in white or cream with darker lower cabinets
- Island or peninsula cabinets in accent colors
- Interior cabinet backs painted in surprise accent colors
Hardware Updates:
- Replacing dated pulls with modern black, brass, or brushed nickel options
- Adding soft-close hinges during reinstallation
- Removing some cabinet doors for open shelving displays
Technique Spotlight: Cabinet Doors
- Remove doors completely for painting
- Use foam rollers for flat surfaces and quality brushes for inset details
- Allow ample drying time between coats (24-48 hours)
- Consider a clear protective topcoat for high-use areas
Cabinet transformations often provide the biggest visual impact for the investment, making them a priority for many RV renovators implementing camper interior paint ideas.
Unique Design Elements
Beyond basic painting, creative RV interior paint ideas incorporate unique design elements:
Pattern Play:
- Subtle stenciled patterns on accent walls
- Geometric designs created with painter’s tape
- Hand-painted borders or details
Texture Techniques:
- Faux finishes like subtle color washing
- Textured paint for specific areas like bathroom walls
- Limewash or chalk paint effects for vintage appeal
Creative Combinations:
- Painted ceiling in a complementary color to walls
- Two-tone wall treatments with chair rail dividers
- Ombre effects for visual interest
These unique approaches work best when they complement the overall design rather than competing with it. For RVers seeking inspiration, Black Hawk Creek RV Park is conveniently located near design centers and home improvement stores in Rapid City.
Alternative and Complementary Renovation Options
Vinyl Paneling Refresh
For those hesitant about painting, specialized vinyl refresher products offer alternatives:
- Vinyl rejuvenators: Products like Armor All or specialized RV vinyl restorers can bring back luster
- Vinyl wraps: Adhesive coverings designed specifically for RV interiors
- Considerations: These options typically don’t last as long as paint but require less preparation
These approaches work best on surfaces in good condition without significant damage or discoloration.
Renovation Kits
Pre-made renovation kits offer comprehensive solutions for those wanting coordinated rv interior paint ideas:
- Genesis Products and similar manufacturers: Offer complete interior wall systems in various colors
- Components: Typically include wall panels, backsplash options, and coordinating trim
- Benefits: Professional-looking results with less guesswork about color coordination
These kits can be particularly valuable for those less confident in their design abilities or wanting a more standardized approach to renovation.
Complementary Design Elements
The most successful RV interior color schemes incorporate complementary elements:
Hardware Updates:
- Cabinet pulls and knobs
- Faucets and fixtures
- Light fixtures and switch plates
Textile Refreshes:
- Window treatments
- Upholstery updates or slipcovers
- Area rugs and throw pillows
Decorative Accents:
- Wall art that complements the new color scheme
- Plants (real or artificial) to add life
- Multifunctional decor that serves storage purposes
These complementary elements help create a cohesive look that elevates the impact of your paint choices. For RVers working on comprehensive renovations, Black Hawk Creek RV Park provides a comfortable base while completing projects.
Professional Help Options
While DIY painting is popular, some situations warrant professional assistance:
When to Consider Professional Help:
- Complex surfaces requiring specialized techniques
- Physical limitations that make DIY challenging
- Extremely tight timelines
- Desire for spray-applied finishes without investing in equipment
Professional Service Options:
- Camping World Design Centers offer custom interior design services
- Mobile RV service providers often include painting services
- Local automotive painters sometimes accept RV interior projects
Cost Considerations:
- Professional RV interior painting typically costs $2,000-$5,000, depending on size and complexity
- Cabinet painting alone averages $1,200-$3,000
- Most professionals require 3-7 days to complete a full interior
When hiring professionals, look for portfolios specifically showcasing RV work, as these projects require different techniques than residential painting.
Maintenance and Durability Tips
Proper maintenance will extend the life of your RV interior paint ideas implementation:
Cleaning Painted Surfaces:
- Use mild, non-abrasive cleaners
- Microfiber cloths rather than abrasive sponges
- Avoid excessive moisture on seams and edges
Touch-Up Strategies:
- Save leftover paint properly labeled with surface and date
- Keep small touch-up brushes for quick repairs
- Address chips or scratches promptly to prevent spreading
Finish Selection for Longevity:
- Satin or semi-gloss finishes offer the best balance of appearance and durability
- Consider water-based polyurethane topcoats for high-use surfaces
- Cabinet-grade enamel provides superior hardness for doors and drawers
With proper care, a well-executed RV interior paint job should last 5-7 years before needing significant refreshing. For those implementing RV interior color schemes while traveling, Black Hawk Creek RV Park offers convenient amenities that make maintenance easier.
Conclusion
Transforming your RV with fresh paint is one of the most impactful renovations you can undertake. The right RV interior paint ideas can completely reinvent your space, making it feel larger, more modern, and perfectly personalized to your taste. While the process requires patience and attention to detail—particularly during the crucial preparation and priming stages—the dramatic results are well worth the effort.
Whether you choose bright, light colors to maximize your space, bold accents to add personality, or themed designs that reflect your lifestyle, the key to success lies in proper preparation, quality materials, and careful application. For inspiration, explore camper remodel RV interior paint ideas that show how the right colors and finishes can completely transform your space. Remember that in the confined space of an RV, color choices have an outsized impact on how the space feels and functions.
As you embark on your camper remodel RV interior paint ideas project, take time to plan thoroughly, prepare meticulously, and execute carefully. The pride and satisfaction of transforming your mobile home with your own hands—and the enjoyment of your refreshed space for years to come—make this one of the most rewarding RV projects you can undertake.
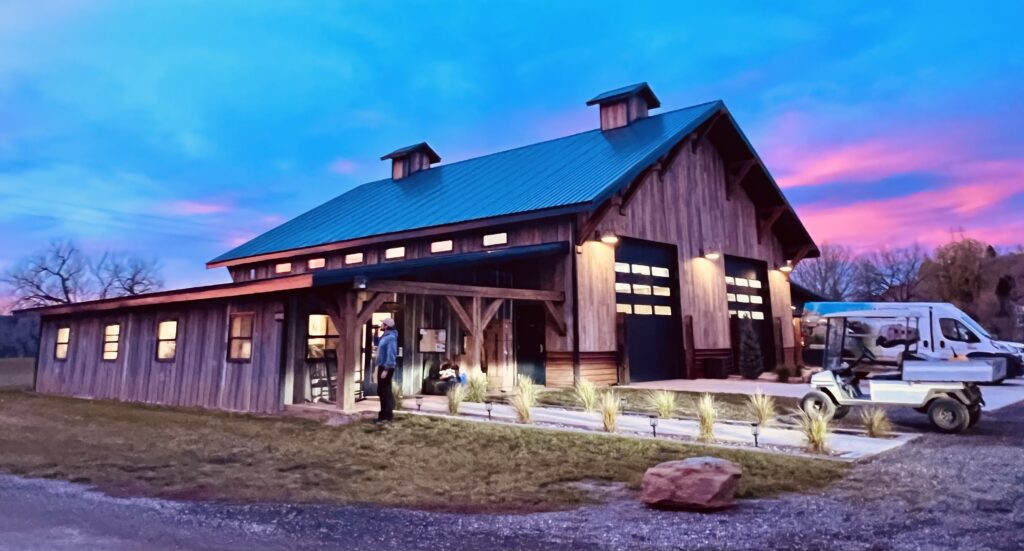
Transform Your RV While Enjoying the Perfect Home Base
Working on RV interior paint ideas requires space, time, and a comfortable base of operations. Black Hawk Creek RV Park offers the ideal setting for your renovation projects, with spacious sites just minutes from Rapid City’s hardware and supply stores. Our year-round park provides the perfect home base while you transform your RV interior.
As a special offer for DIY enthusiasts, when you order custom skirting for your RV during your stay, you’ll receive a $200 credit toward your camping fees! Take advantage of our peaceful setting to complete your painting project, then explore nearby attractions like Mount Rushmore, Crazy Horse, and Badlands National Park once your work is done.
Book your stay at Black Hawk Creek RV Park today and create the perfect environment for your RV transformation!